
Kia Seltos SP2 (2021-2026) Service Manual / Body (Interior and Exterior) / Floor Console
Kia Seltos: Body (Interior and Exterior) / Floor Console
Contents:
- Components and Components Location
- Console Upper Cover Removal and Installation
- Floor Console Assembly Removal and Installation
- Rear Console Cover Removal and Installation
- Console Armrest Removal and Installation
Components and Components Location
| Component |
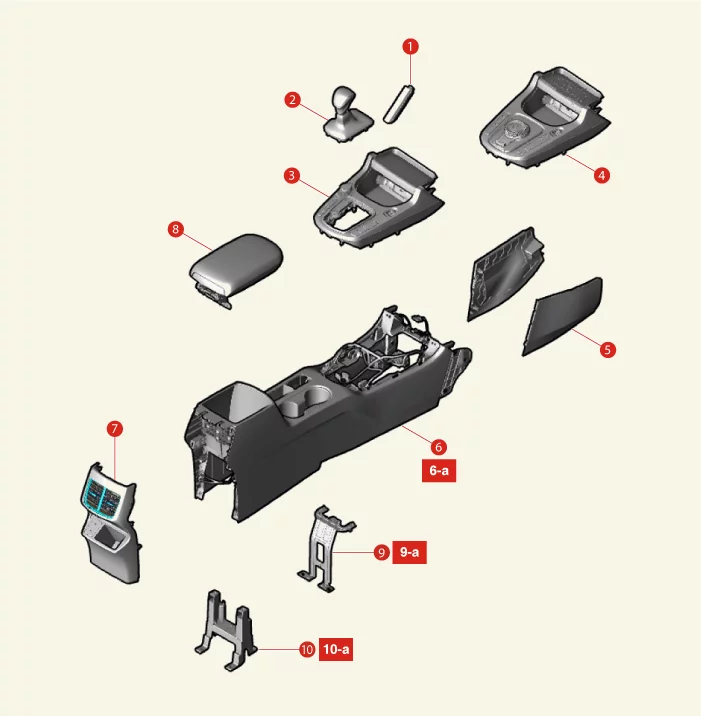
| 1. Console Upper Garnish 2. Gear Knob Assembly [SBC Type] 3. Console Upper Cover [SBC Type] 4. Console Upper Cover [SBW Type] 5. Console Side Cover |
6. Floor Console Assembly 6-a. 7.8 - 9.8 N·m (0.8 - 1 kgf·m, 5.8 - 7.2 lb·ft) 7. Rear Console Cover 8. Console Armrest 9. Console Center Mounting Bracket [SBW Type] 9-a. 2.9 - 3.9 N·m (0.3 - 0.4 kgf·m, 2.2 - 2.9 lb·ft, 26 - 34.7 lb·in) 10. Console Rear Mounting Bracket 10-a. 2.9 - 3.9 N·m (0.3 - 0.4 kgf·m, 2.2 - 2.9 lb·ft, 26 - 34.7 lb·in) |
Console Upper Cover Removal and Installation
| Removal |
[SBC Type]
| 1. |
Disconnect the battery negative ( - ) terminal.
|
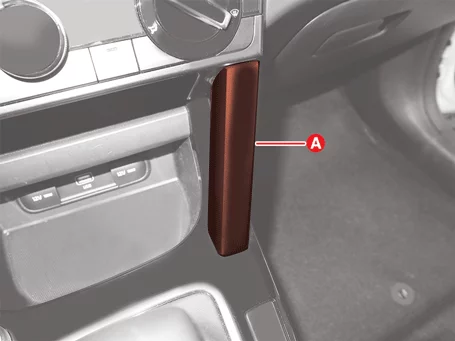
| 2. |
Remove the console upper garnish (A).
|
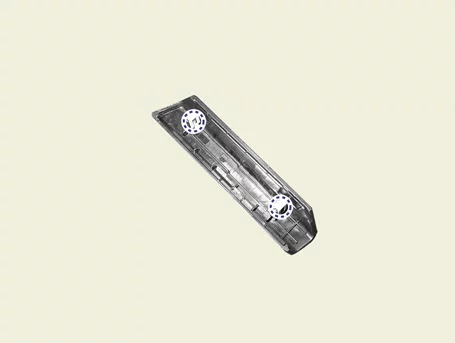


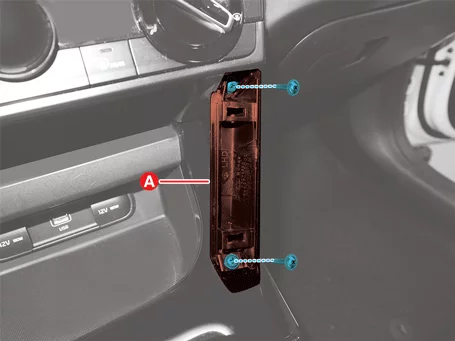
| 3. |
Remove the console upper rear garnish (A) after removing screws.
|
| 4. |
Remove the gear knob (A) in the direction of the arrow.
|
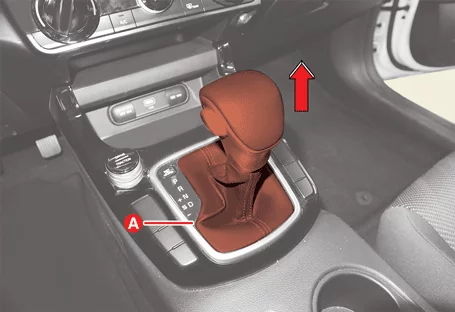
| 5. |
Remove the console upper cover (A).
|
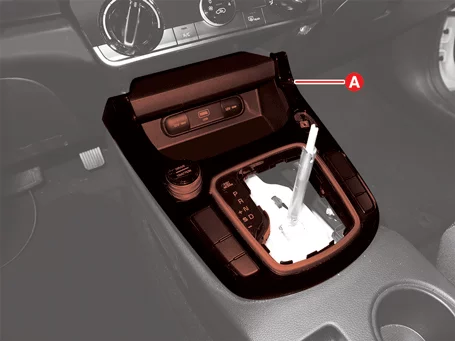
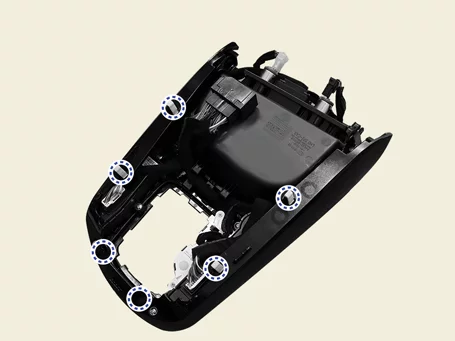
| 6. |
Disconnect the main connector and the multimedia jack (A).
|
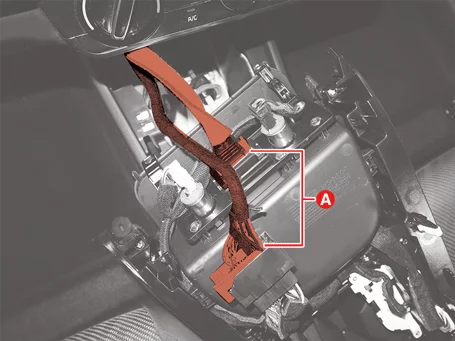
| Installation |
| 1. |
Install in reverse order of removal.
|
Floor Console Assembly Removal and Installation
| Removal |
| 1. |
Remove the console upper cover.
(Refer to Floor Console - "Console Upper Cover")
|
| 2. |
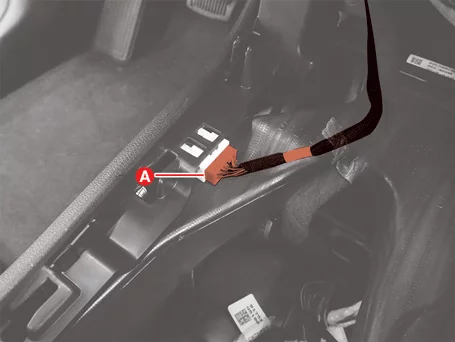
Disconnect the floor console connector (A).
|
| 3. |
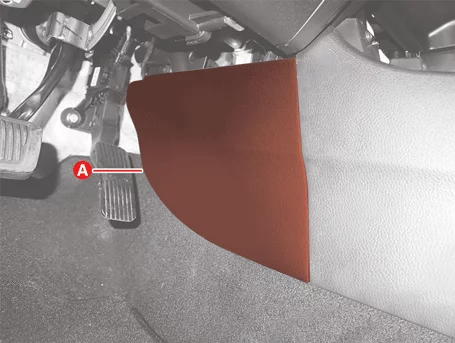
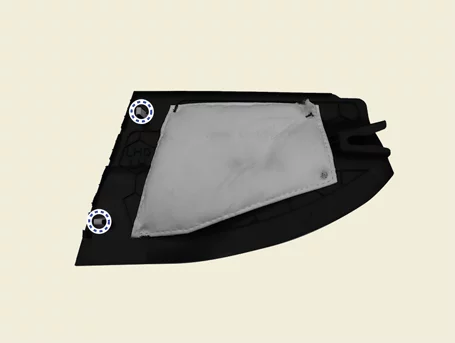
Remove the floor console side cover (A).
|
| 4. |
Remove the hand brake cover (A).
|
| 5. |
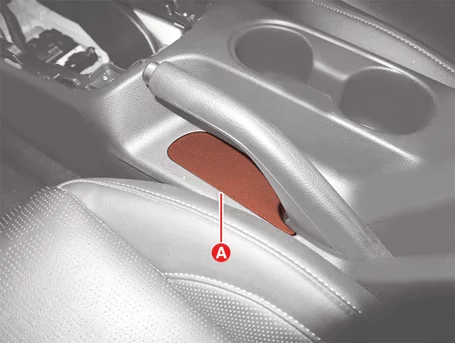
Remove the storage box pad (A).
|
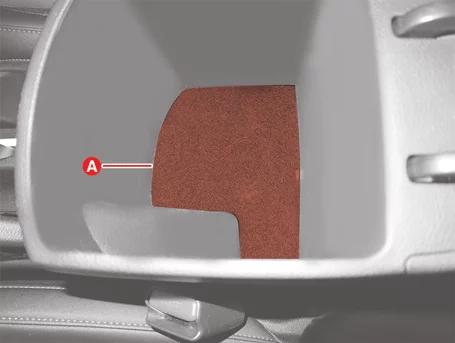
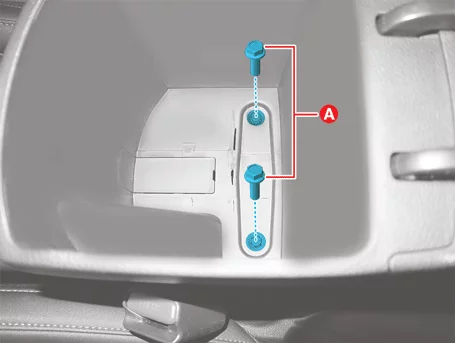
| 6. |
Remove the console assembly bolts (A).
|
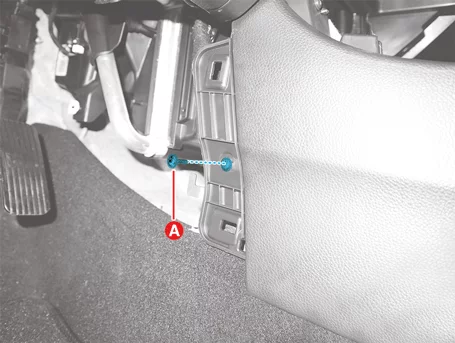
| 7. |
Remove the console assembly screws (A).
|
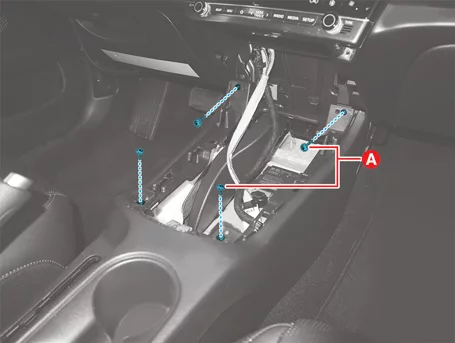
| 8. |
Remove the floor console assembly (A).
|
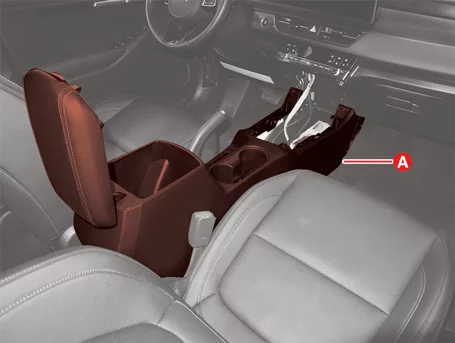
| 9. |
Remove the rear air vent (A).
|
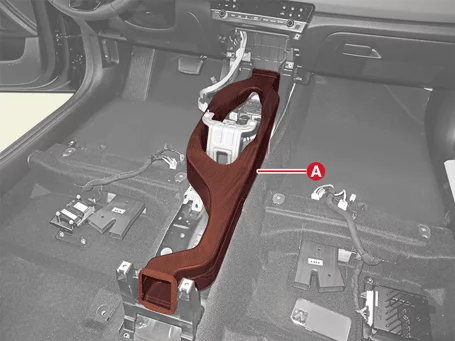
| 10. |
Remove the console mounting bracket (A).
|
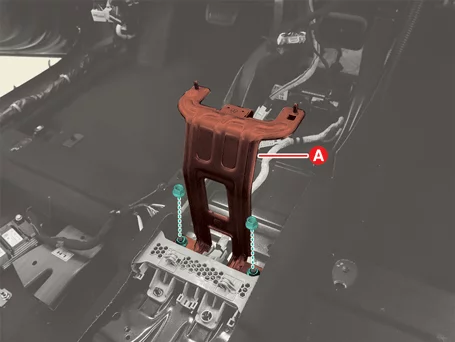
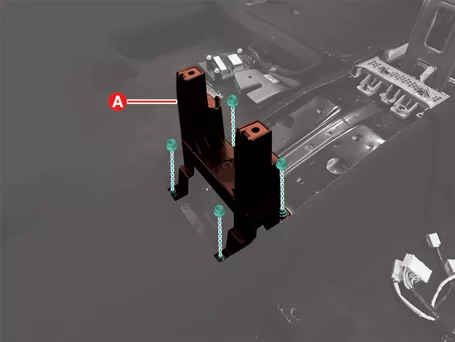
| Installation |
| 1. |
Install in reverse order of removal.
|
Rear Console Cover Removal and Installation
| Removal |
| 1. |
Remove the floor console assembly.
(Refer to Floor Console - "Floor Console Assembly")
|
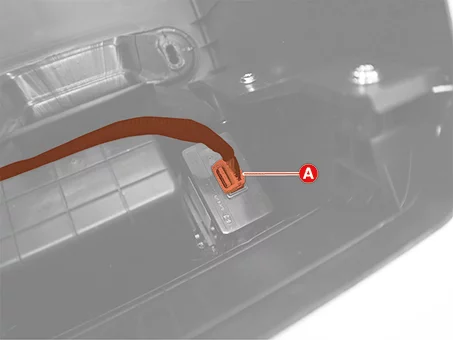
| 2. |
Disconnect the USB charger connector (A).
|
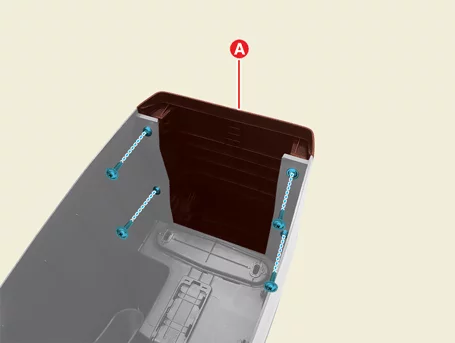
| 3. |
Remove the mounting screws (A).
|
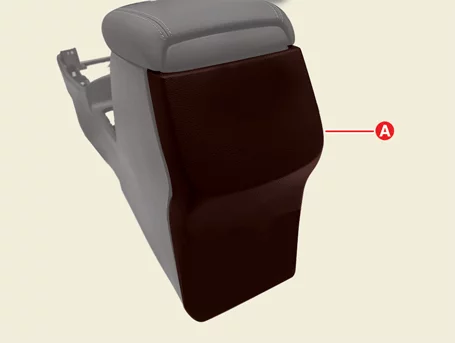
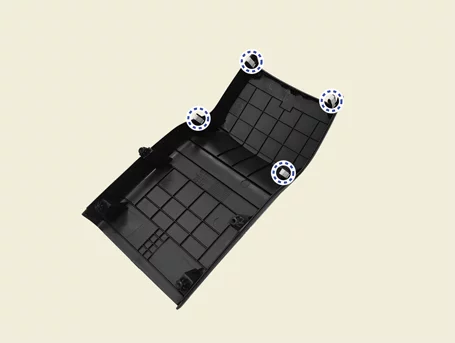
| 4. |
Remove the rear console cover (A).
|
| Installation |
| 1. |
Install in reverse order of removal.
|
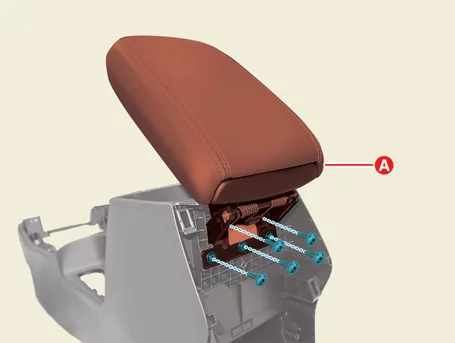
Console Armrest Removal and Installation
| Removal |
| 1. |
Remove the rear console cover.
(Refer to Floor Console - "Rear Console Cover")
|
| 2. |
Remove the console armrest (A) after removing the screws.
|
| Installation |
| 1. |
Install in reverse order of removal.
|


Other information:
Kia Seltos SP2 (2021-2026) Service Manual: Exterior care
Use the following information to maintain the exterior of your Kia Seltos. Keeping the exterior clean is not only visually pleasing, but also helps protect paint, trim, lamps, and body components from wear, contamination, and environmental damage. NOTICE If the Kia Seltos is parked near a stainless signboard, glass building, or other highly reflective structure, reflected sunlight may damage plastic exterior trim such as the bumper, spoiler, trim pieces, lamps, or outside mirrors.Kia Seltos SP2 (2021-2026) Service Manual: FCA (Sensor fusion)
Basic function Forward Collision-Avoidance Assist (FCA) with sensor fusion in the Kia Seltos is designed to help detect and monitor a vehicle ahead, as well as help identify a pedestrian or cyclist in the roadway. If the system determines that a collision risk is increasing, it may warn the driver with a warning message and audible alert, and may assist by applying emergency braking.