
Kia Seltos: Body (Interior and Exterior) / Mirror
Contents:
- Outside Rear View Mirror Removal and Installation
- Outside Rear View Mirror Disassembly and Reassembly
- Inside Rear View Mirror Removal and Installation
Outside Rear View Mirror Removal and Installation
| Removal |
| 1. |
Remove the front quadrant inner cover.
(Refer to Front Door - "Front Door Trim")
|
| 2. |
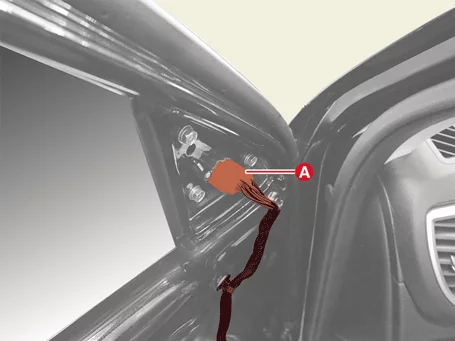
Disconnect the outside rear view mirror connector (A).
|
| 3. |
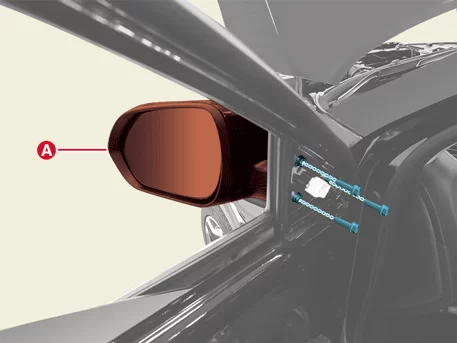
Remove the outside rear view mirror assembly (A) after removing the bolts.
|
| Installation |
| 1. |
Install in reverse order of removal.
|
Outside Rear View Mirror Disassembly and Reassembly
| Special Service Tool |
| Tool Name / Number |
Illustration |
Description |
|
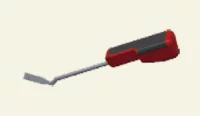
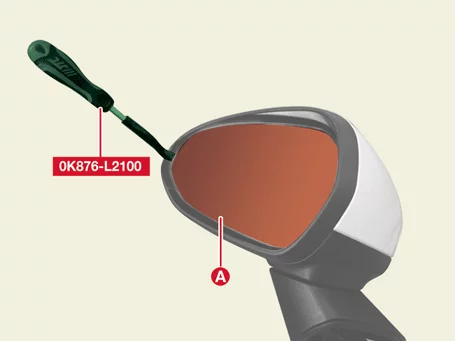
Outside Rear View Mirror Glass Remover Tool 0K876 - L2100 |
|
Used when removing outside rear view mirror glass |
|
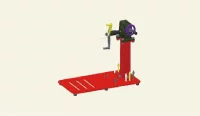
Outside View Mirror Assembly Fixing Stand 0K876 - C5100 |
|
Used when fixing the outside rear view mirror assembly |
| Disassembly |
Outside View Mirror Assembly Fixing Stand (0K876 - C5100)
Outside Rear View Mirror Glass Remover Tool (0K876 - L2100)
|

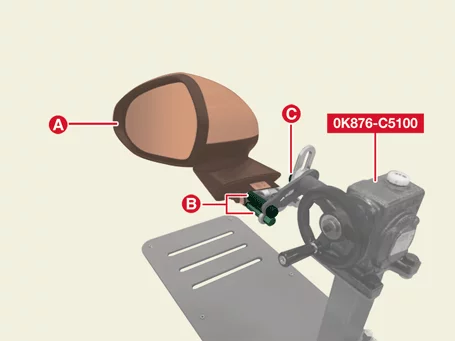
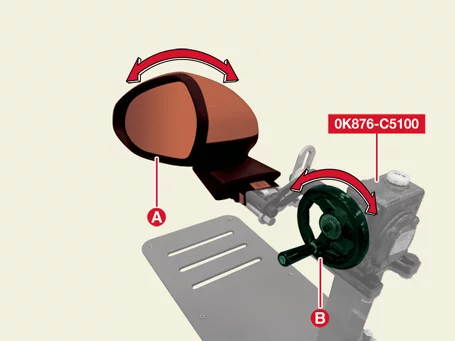
| Mirror |
| 1. |
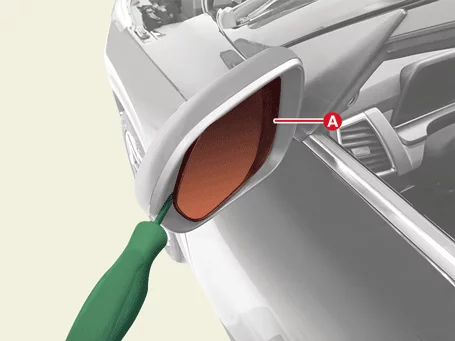
Remove the mirror (A) by applying slight force, after inserting a remover as shown below.
|
| 2. |
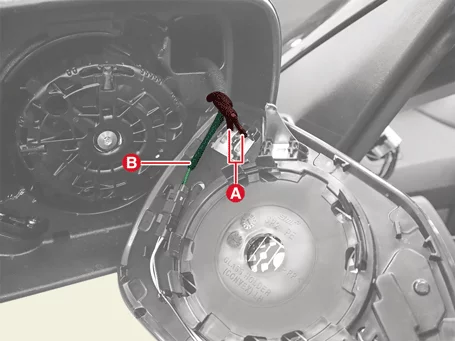
Disconnect the mirror heated wire connector (A) and the BCW & RCCW indicator connector (B).
|
| Scalp |
| 1. |
Remove the mirror.
|
| 2. |
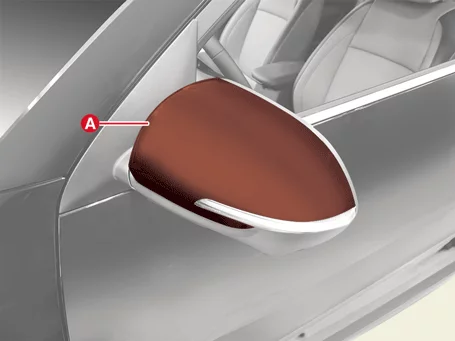
Remove the scalp (A).
|
| Lower Scalp |
| 1. |
Remove the scalp.
|
| 2. |
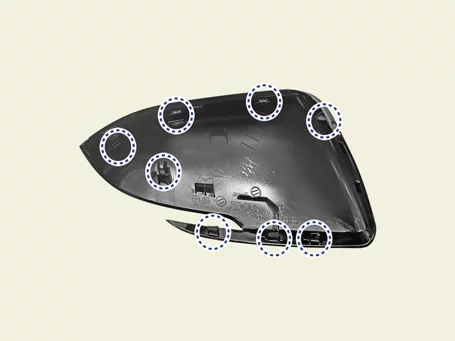
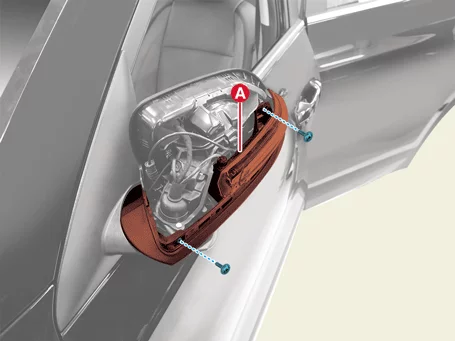
Remove the lower scalp (A) after removing the screws.
|
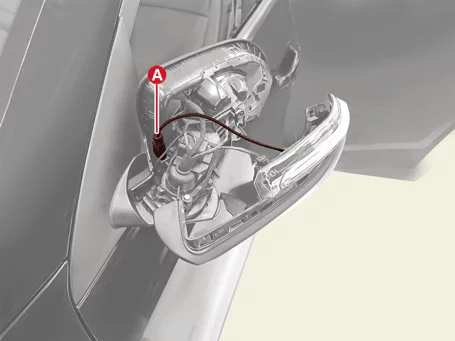
| 3. |
Disconnect the side camera connector (A).
|
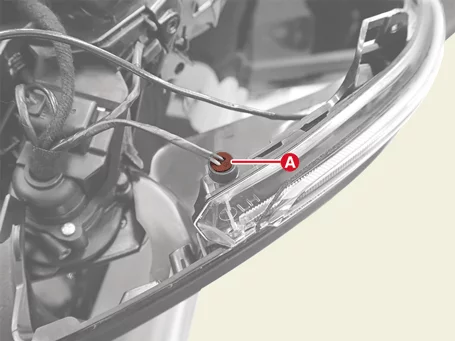
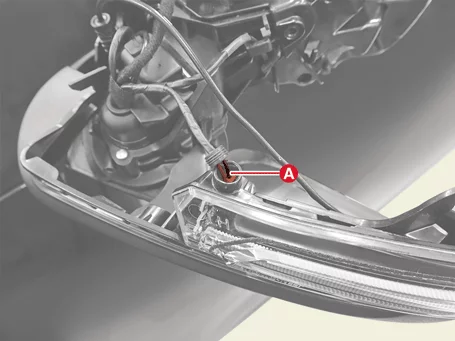
| 4. |
Disconnect the side repeater lamp connector.
|
| Reassembly |
| 1. |
Install in reverse order of removal.
|
Inside Rear View Mirror Removal and Installation
| Removal |
| 1. |
Disconnect the battery negative ( - ) terminal.
|
| 2. |
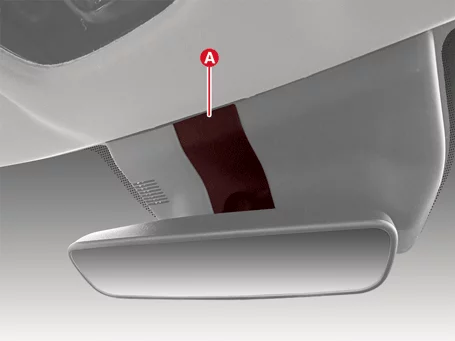
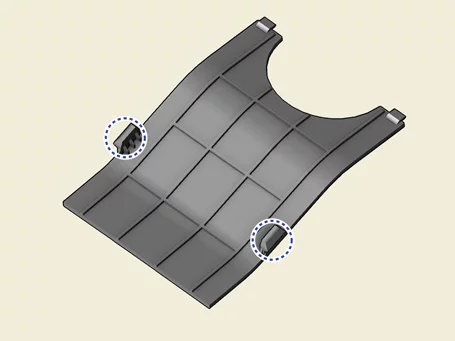
Remove the multi sensor blanking cover (A).
|

| 3. |
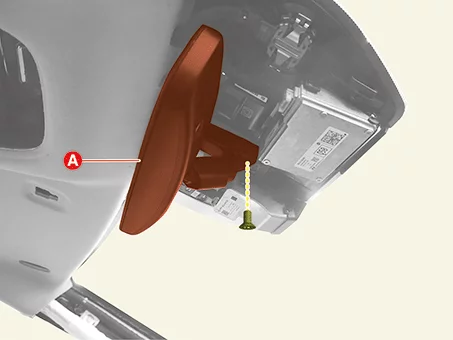
Remove the inside rear view mirror (A) after removing the screw.
|
| Installation |
| 1. |
Install in reverse order of removal.
|


Other information:
Kia Seltos SP2 (2021-2026) Service Manual: Automatic climate control system
The Kia Seltos automatic climate control system uses cooling, heating, air intake, fan speed, and air distribution control to help maintain a pleasant cabin environment. When AUTO mode is selected, the system automatically adjusts several settings to reach the selected temperature. Type A Type B Fan speed control button Air intake control button Mode selection button Rear window defroster button Temperature control knob Air conditioning (A/C) button OFF button Front windshield defroster button AUTO automatic control button Climate control display NOTICE Operating the blower when the ignition switch is in the ON position without the engine running may discharge the battery.The doors of the Kia Seltos are equipped with power windows that can be operated using the window switches. The power window system provides convenient control for the driver and passengers, while the driver can also restrict rear window operation when needed. Driver's door power window switch Front passenger's door power window switch Rear door left power window switch Rear door right power window switch Window opening and closing Automatic power window up*/down* Power window lock switch *: if equipped NOTICE In cold and wet weather, the power windows may not operate properly because of freezing conditions.