
Kia Seltos: Body (Interior and Exterior) / Body Side Molding
Contents:
- Components and Components Location
- Roof Side Molding Removal and Installation
- Roof Rack Removal and Installation
- Front Wheel Guard Removal and Installation
- Rear Wheel Guard Removal and Installation
- Rear Spoiler Removal and Installation
- Tailgate Garnish Removal and Installation
- Door Garnish Removal and Installation
- Fender Garnish Removal and Installation
- Quarter Garnish Removal and Installation
- A Pillar Garnish Removal and Installation
- Side Sill Molding Removal and Installation
- Emblem Removal and Installation - Front
- Emblem Removal and Installation - Rear
Components and Components Location
| Component |
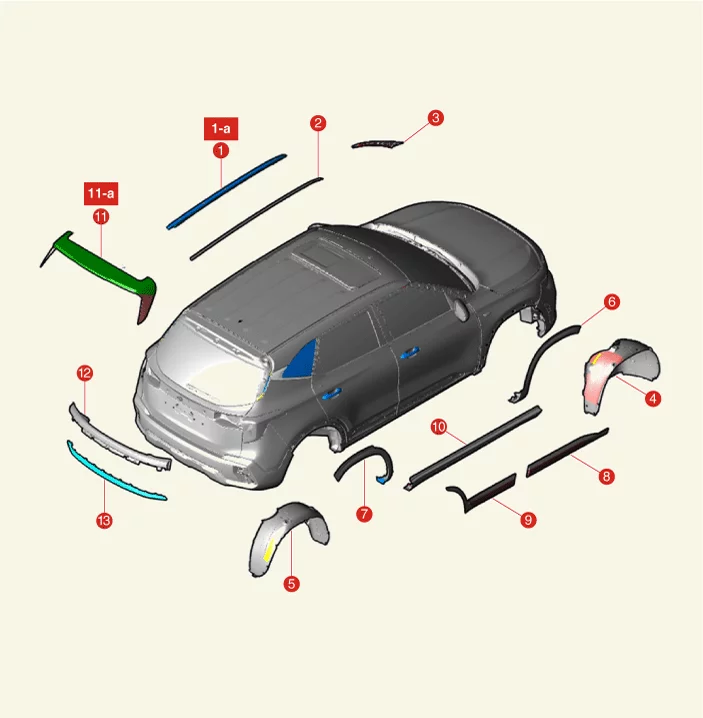
| 1. Roof Rack 1-a. 3.9 N·m (0.4 kgf·m, 2.9 lb·ft, 34.7 lb·in) 2. Roof Side Molding 3. A Pillar Garnish 4. Front Wheel Guard 5. Rear Wheel Guard 6. Fender Garnish 7. Quarter Garnish |
8. Front Door Garnish 9. Rear Door Garnish 10. Side Sill Molding 11. Rear Spoiler 11-a. 5.9 N·m (0.6 kgf·m, 4.3 lb·ft, 52.1 lb·in) 12. Inside Rear Combination Lamp 13. Tailgate Garnish Assembly |
Roof Side Molding Removal and Installation
| Removal |
| 1. |
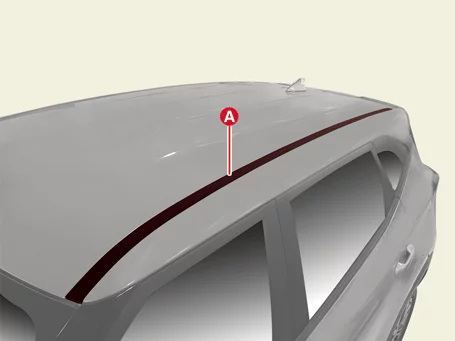
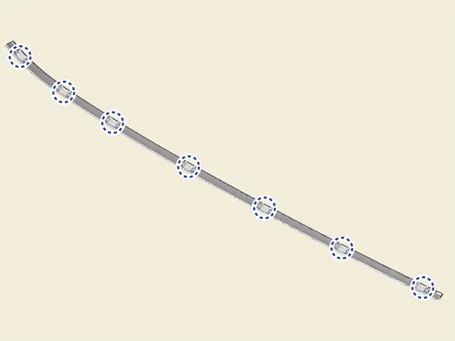
Remove the roof side molding (A).
|


| Installation |
| 1. |
Install in reverse order of removal.
|
Roof Rack Removal and Installation
| Removal |
| 1. |
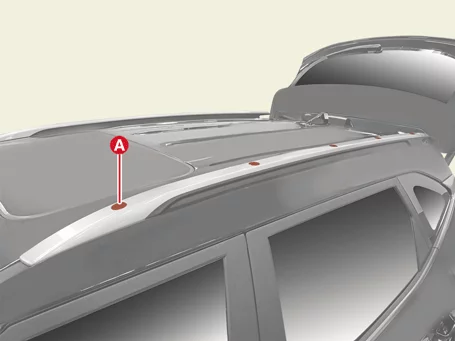
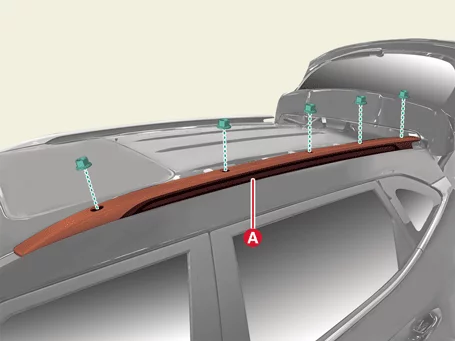
Remove the roof rack caps (A).
|
| 2. |
Remove the roof rack (A) after removing the nuts.
|
| Installation |
| 1. |
Install in reverse order of removal.
|
Front Wheel Guard Removal and Installation
| Removal |
| 1. |
Remove the front wheel and tires.
(Refer to Suspension System - "Wheel")
|
| 2. |
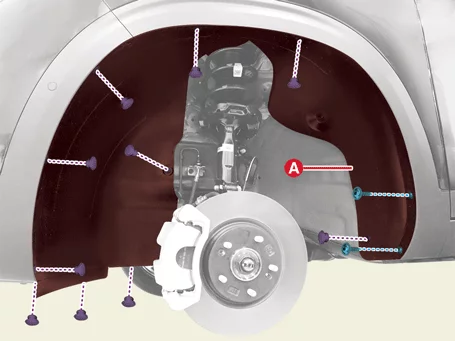
Remove the front wheel guard (A) after removing the clips and screws.
|
| Installation |
| 1. |
Install in reverse order of removal.
|
Rear Wheel Guard Removal and Installation
| Removal |
| 1. |
Remove the rear wheel and tires.
(Refer to Suspension System - "Wheel")
|
| 2. |
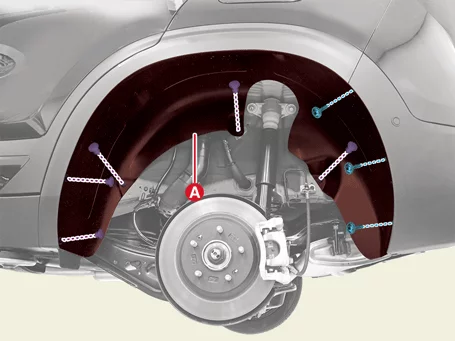
Remove the rear wheel guard (A) after removing the clips screws.
|
| Installation |
| 1. |
Install in reverse order of removal.
|
Rear Spoiler Removal and Installation
| Removal |
| 1. |
Remove the tailgate lid upper trim.
(Refer to Tailgate - "Tailgate Lid Trim")
|
| 2. |
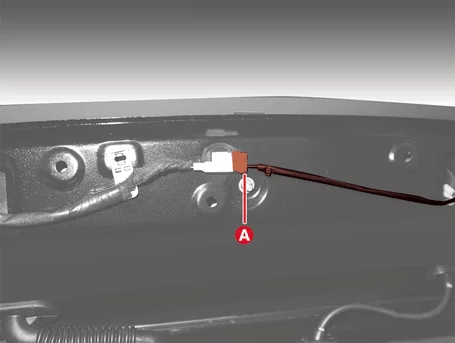
Disconnect the rear spoiler connector (A).
|
| 3. |
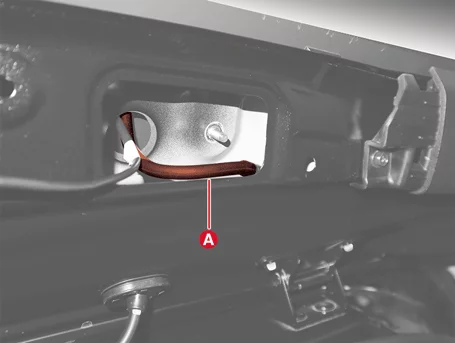
Separate the rear washer nozzle (A).
|
| 4. |
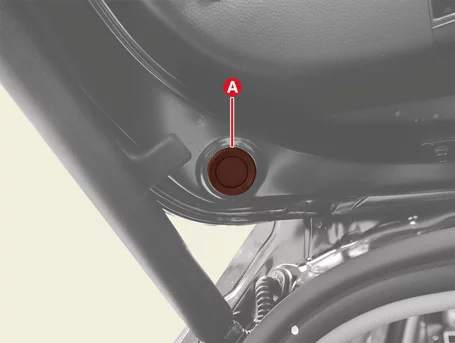
Remove the rear spoiler hole plug (A).
|
| 5. |
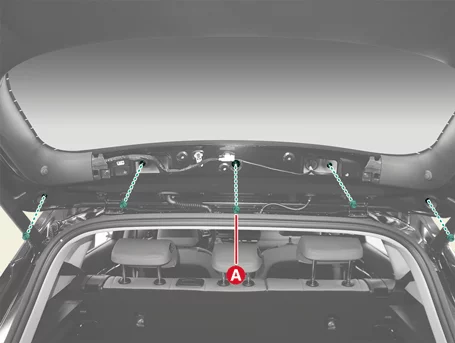
Remove the rear spoiler nuts (A).
|
| 6. |
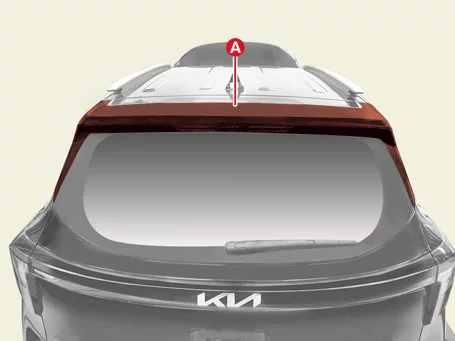
Remove the rear spoiler (A).
|
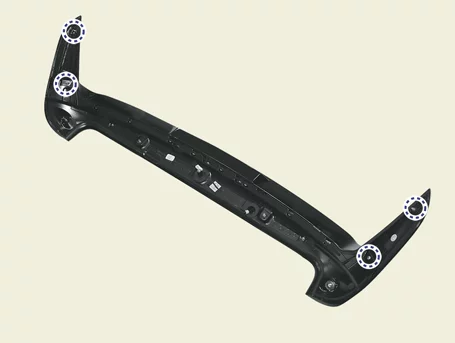
| 7. |
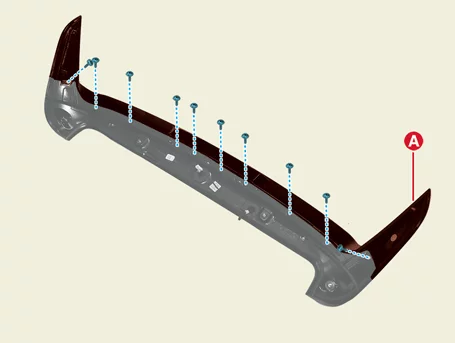
Remove the rear spoiler under cover (A) after removing the screws.
|
| Installation |
| 1. |
Install in reverse order of removal.
|
Tailgate Garnish Removal and Installation
| Removal |
| 1. |
Remove the inside rear combination lamp.
(Refer to Body Electrical System - "Rear Combination Lamp")
|
| 2. |
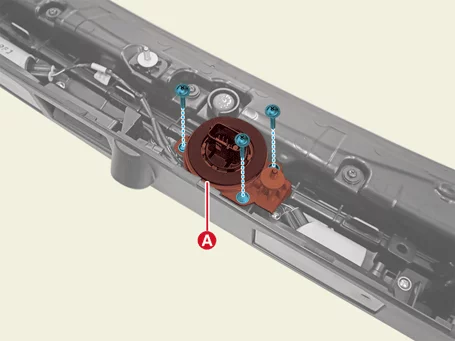
Remove the connector bracket (A) after removing the screws.
|
| 3. |
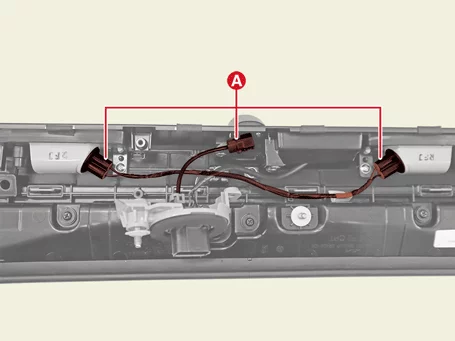
Disconnect the license plate lamp and rear view camera connectors (A).
|
| 4. |
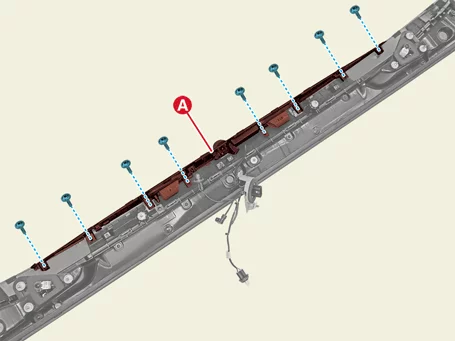
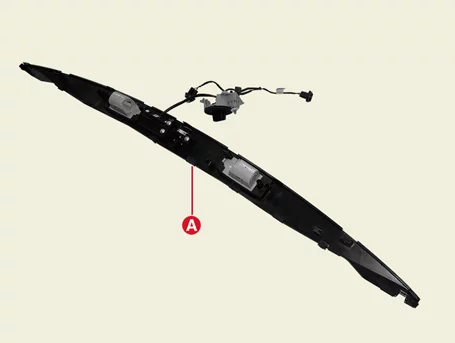
Remove the tailgate lower garnish (A) after removing the screws.
|
| 5. |
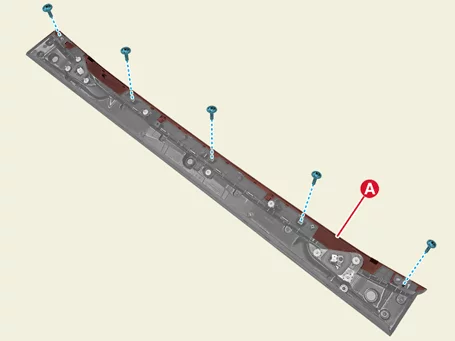
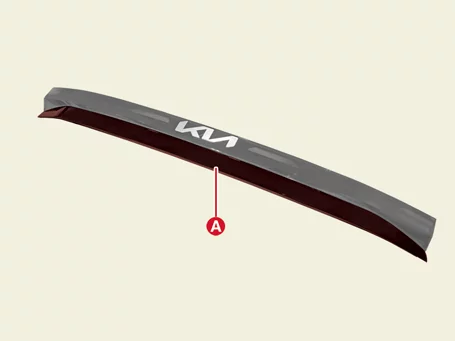
Remove the tailgate garnish (A) after removing the screws.
|
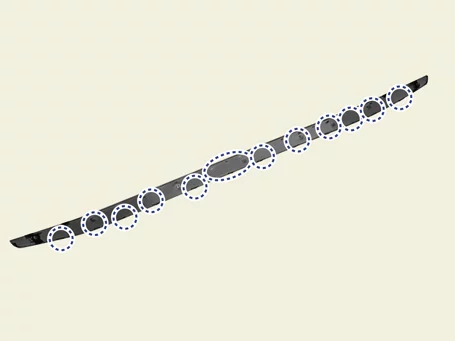
| Installation |
| 1. |
Install in reverse order of removal.
|
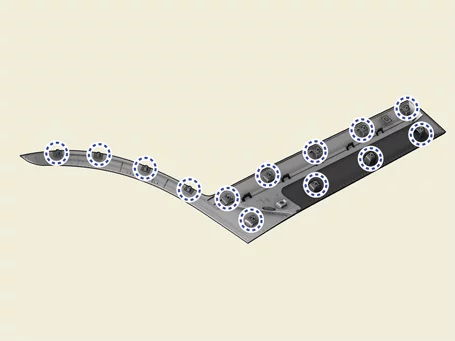
Door Garnish Removal and Installation
| Removal |
| 1. |
Remove the door garnish (A).
|
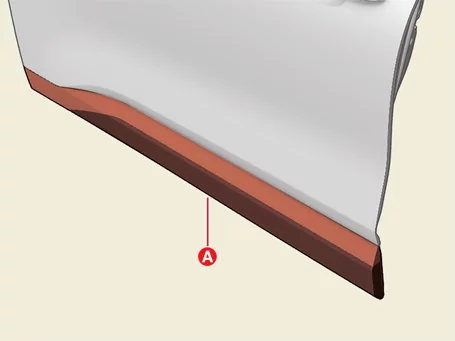
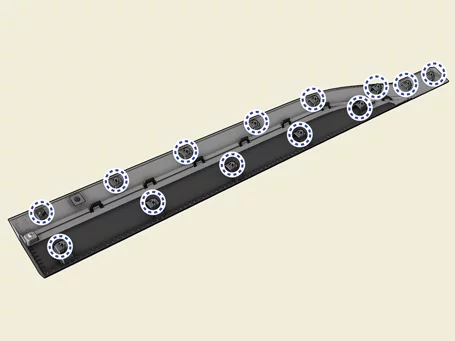
| 1. |
Remove the door garnish (A).
|
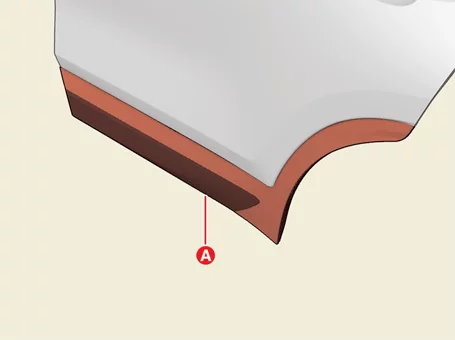
| Installation |
| 1. |
Install in reverse order of removal.
|
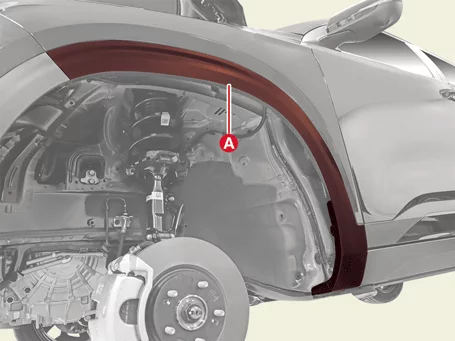
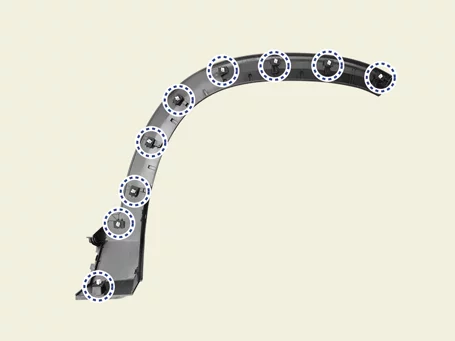
Fender Garnish Removal and Installation
| Removal |
| 1. |
Remove the front wheel guard.
(Refer to Body Side Molding - "Front Wheel Guard")
|
| 2. |
Remove the fender garnish (A).
|
| Installation |
| 1. |
Install in reverse order of removal.
|
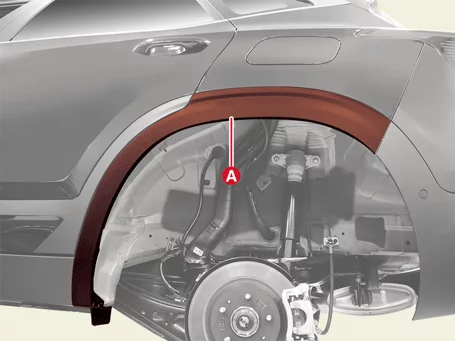
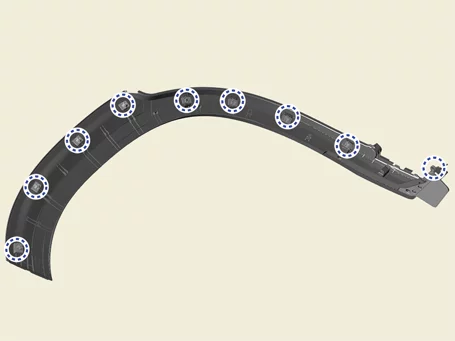
Quarter Garnish Removal and Installation
| Removal |
| 1. |
Remove the rear wheel guard.
(Refer to Body Side Molding - "Rear Wheel Guard")
|
| 2. |
Remove the quarter garnish (A).
|
| Installation |
| 1. |
Install in reverse order of removal.
|
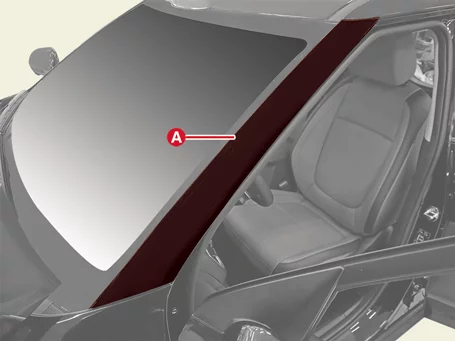
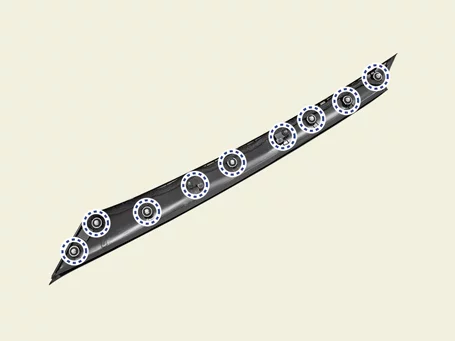
A Pillar Garnish Removal and Installation
| Removal |
| 1. |
Remove the A pillar garnish (A).
|
| Installation |
| 1. |
Install in reverse order of removal.
|
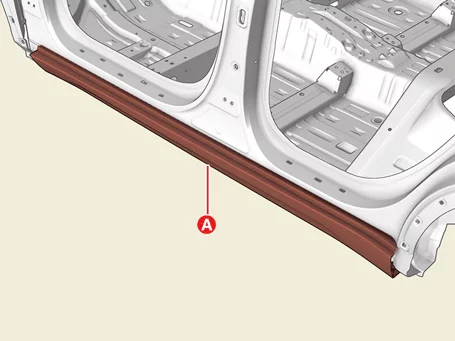
Side Sill Molding Removal and Installation
| Removal |
| 1. |
Remove the fender garnish.
(Refer to Body Side Molding - "Fender Garnish")
|
| 2. |
Remove the quarter garnish.
(Refer to Body Side Molding - "Quarter Garnish")
|
| 3. |
Remove the side sill molding (A)
|
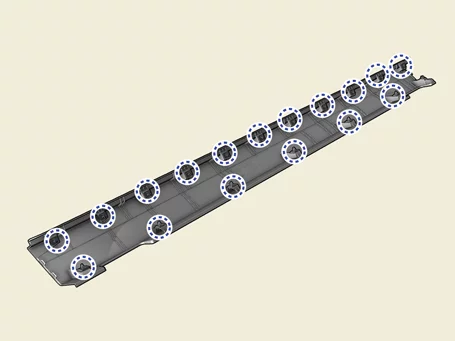
| Installation |
| 1. |
Install in reverse order of removal.
|
Emblem Removal and Installation - Front
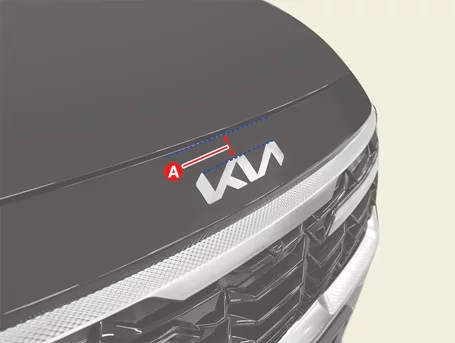
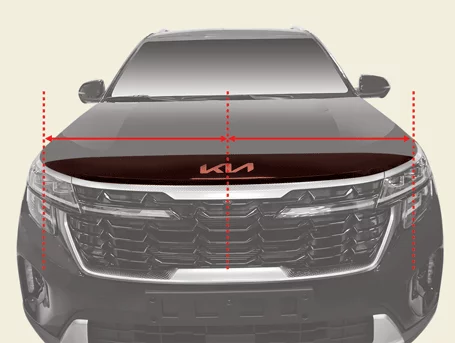
| Emblem attached area |
| • |
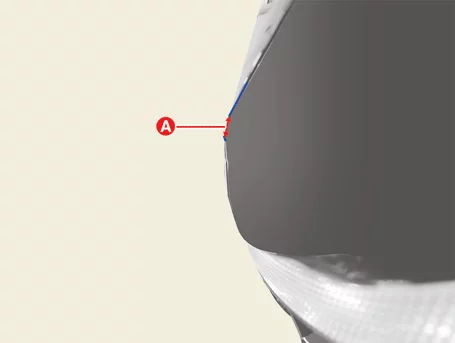
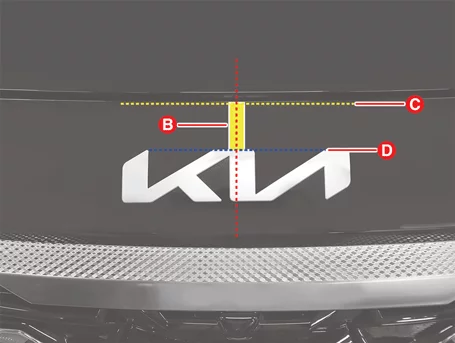
Standard of measurement : From the top end of the radiator grille upper cover to the top of the emblem
(vehicle center)
|
| • |
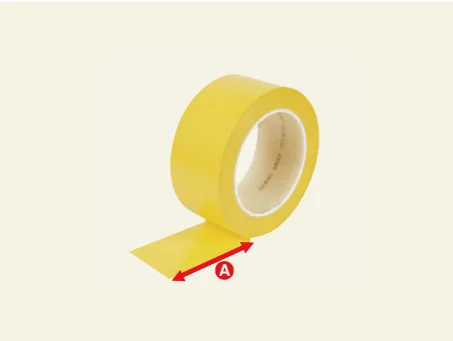
Length (A) considering curved surface : 39 mm (1.5 in.)
|
| Removal |
|

| 1. |
Remove the emblem.
|
| Installation |
| 1. |
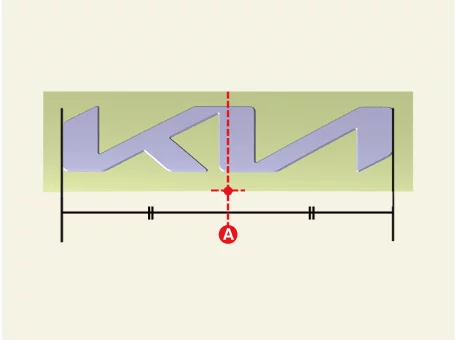
Mark the center of the emblem.
|
| 2. |
Measure the distance of the curved surface from the reference point and attach the emblem to the vehicle
center.
|
| 3. |
Use a tool such as a roller to attach it closely to the vehicle body after attaching the emblem.
|
| Note |
| 1. |
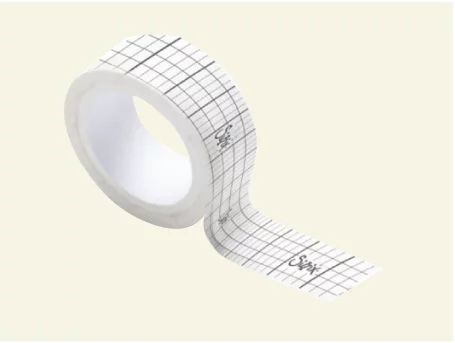
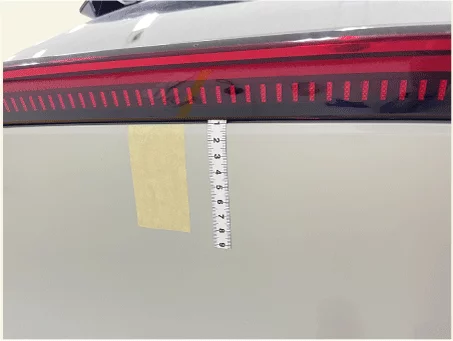
The following products can be utilized to accurately determine the location of the emblem attachment.
|
| 2. |
The center of the vehicle is based on the end of radiator grille upper cover.
|
Emblem Removal and Installation - Rear
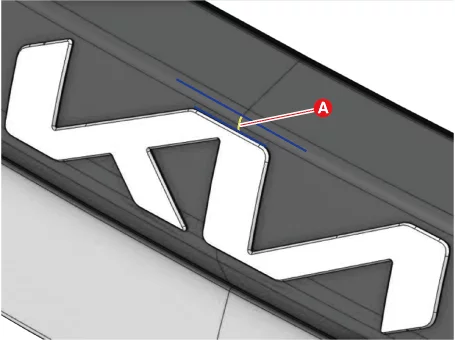
| Emblem attached area |
| • |
Standard of measurement : from the top end of the rear combination lamp to the top of the emblem (vehicle
center)
|
| • |
Length considering curved surface : 5 mm (0.2 in.)
|
| Removal |
|
| 1. |
Remove the emblem.
|
| Installation |
| 1. |
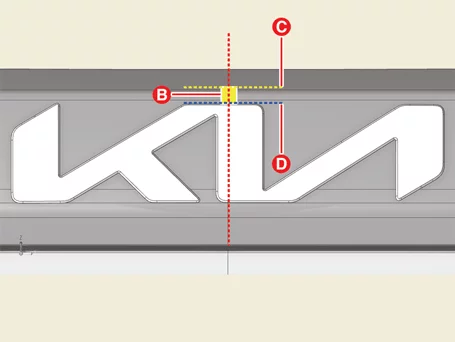
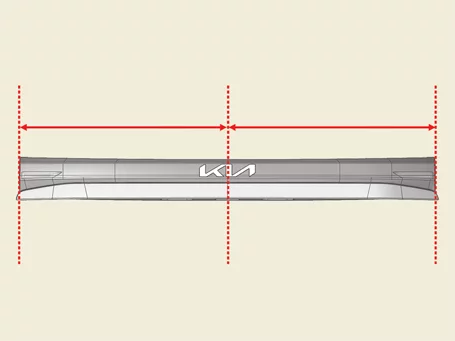
Mark the center of the emblem.
|
| 2. |
Measure the distance of the curved surface from the reference point and attach the emblem to the vehicle
center.
|
| 3. |
Use a tool such as a roller to attach it closely to the vehicle body after attaching the emblem.
|
| Note |
| 1. |
The following products can be utilized to accurately determine the location of the emblem attachment.
|
| 2. |
The center of the vehicle is based on the rear combination lamp end.
|


Other information:
Kia Seltos SP2 (2021-2026) Service Manual: Conditions and operation of the front passenger ODS
Condition detected by the occupant detection system Indicator/Warning light Devices "PASSENGER AIR BAG OFF" indicator light SRS warning light Front passenger air bag 1.Kia Seltos SP2 (2021-2026) Service Manual: Rear View Monitor (RVM)
Rear View Monitor (RVM) activates when the back-up light is ON, the ignition switch is ON, and the shift lever is in R (Reverse). RVM is a supplemental function that shows the area behind the Kia Seltos through the infotainment system while backing up. NOTICE After a display audio system or additional genuine Kia infotainment system is installed, Rear View Monitor may not operate exactly as described in the owner's manual.