
Kia Seltos: Body (Interior and Exterior) / Roof Trim
Contents:
- Sunvisor Removal and Installation
- Assist Handle Removal and Installation
- Roof Trim Assembly Removal and Installation
Sunvisor Removal and Installation
| Removal |
| 1. |
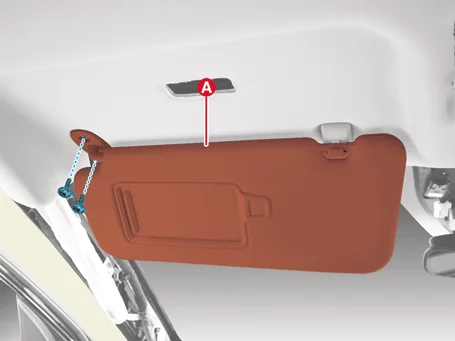
Remove the sunvisor (A) after removing the screws.
|
| 2. |
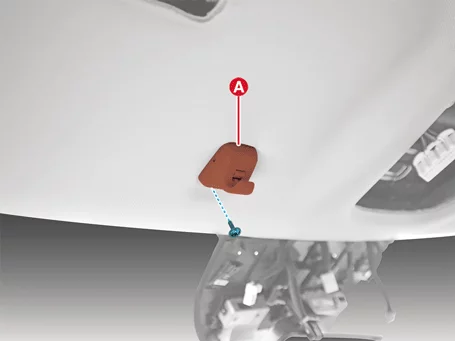
Remove the sunvisor retainer (A) after removing the screw.
|
| Installation |
| 1. |
Install in reverse order of removal.
|
Assist Handle Removal and Installation
| Removal |
| 1. |
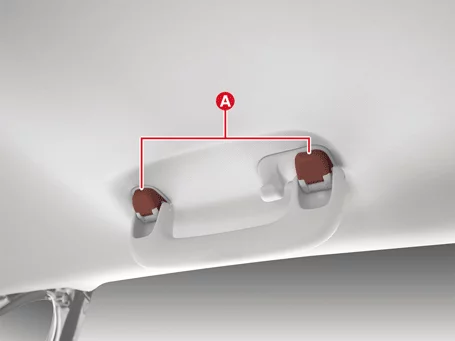
Open the assist handle cap (A).
|
| 2. |
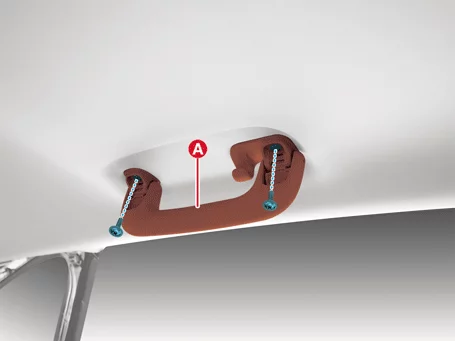
Remove the assist handle (A) after removing the screws.
|
| Installation |
| 1. |
Install in reverse order of removal.
|
Roof Trim Assembly Removal and Installation
| Removal |
| 1. |
Remove the front seat assembly.
(Refer to Front Seat - "Front Seat Assembly")
|
| 2. |
Remove the rear seat back assembly.
(Refer to Rear Seat - "Rear Seat Assembly")
|
| 3. |
Remove the front pillar trim.
(Refer to Interior Trim - "Front Pillar Trim")
|
| 4. |
Remove the center pillar upper trim.
(Refer to Interior Trim - "Center Pillar Trim")
|
| 5. |
Remove the rear pillar trim.
(Refer to Interior Trim - "Rear Pillar Trim")
|
| 6. |
Remove the sunvisor or retainer.
(Refer to Roof Trim - "Sunvisor")
|
| 7. |
Remove the assist handle.
(Refer to Roof Trim - "Assist Handle")
|
| 8. |
Remove the overhead console lamp.
(Refer to Body Electrical System - "Overhead Console Ramp")
|
| 9. |
Remove the room lamp.
(Refer to Body Electrical System - "Room Ramp")
|
| 10. |
Remove the vanity lamp.
(Refer to Body Electrical System - "Vanity Lamp")
|
| 11. |
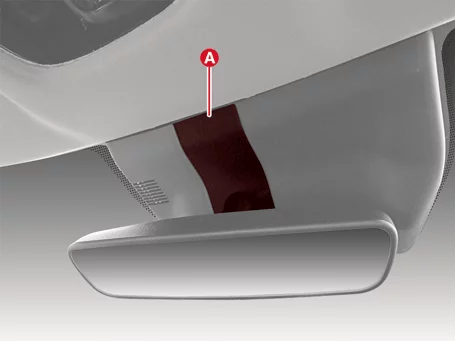
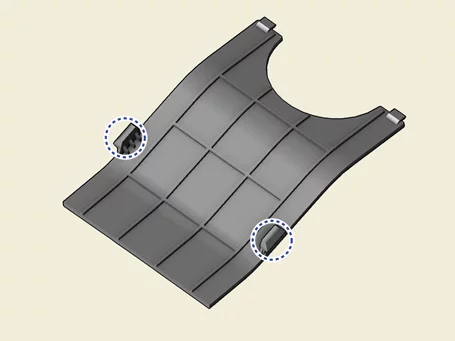
Remove the multi sensor blanking cover (A).
|


| 12. |
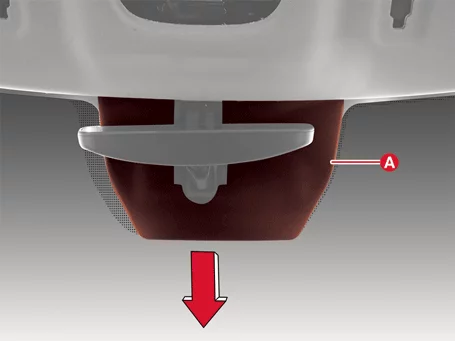
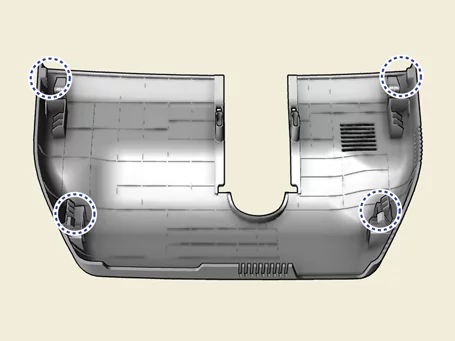
Remove the multi sensor cover (A) in the direction of the arrow.
|
| 13. |
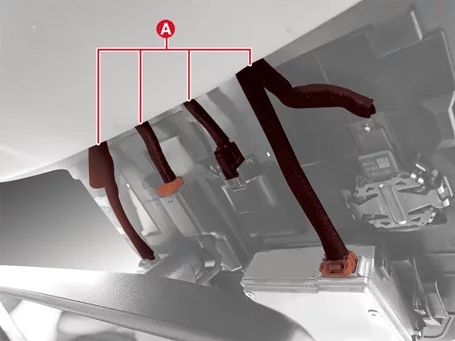
Disconnect the multi sensor connectors (A).
|
| 14. |
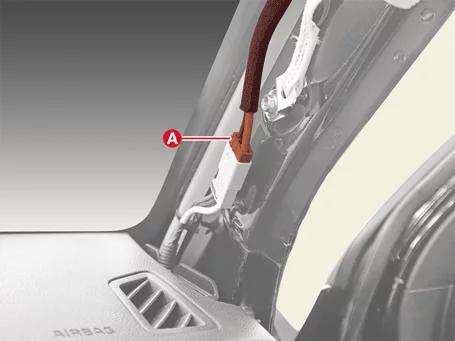
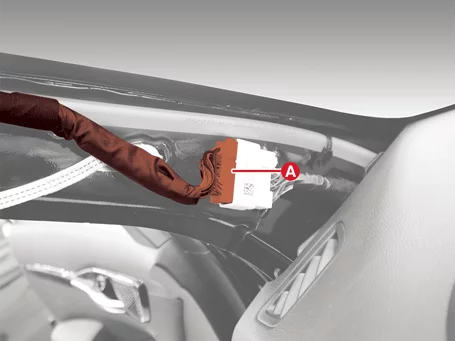
Disconnect the roof trim connectors (A).
|
| 15. |
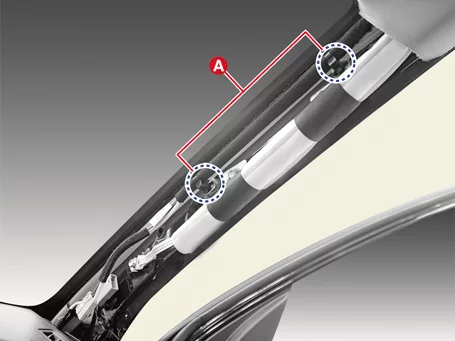
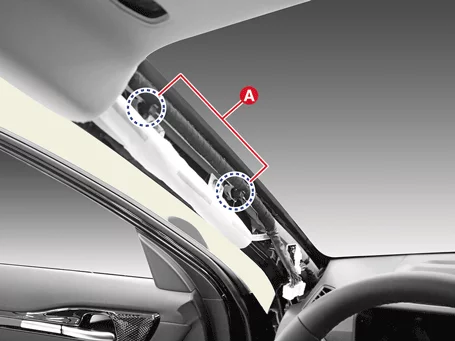
Remove the roof trim wiring clips (A).
|
| 16. |
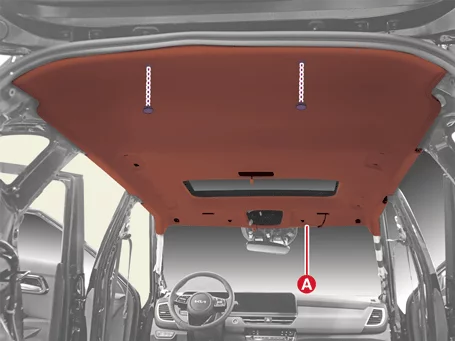
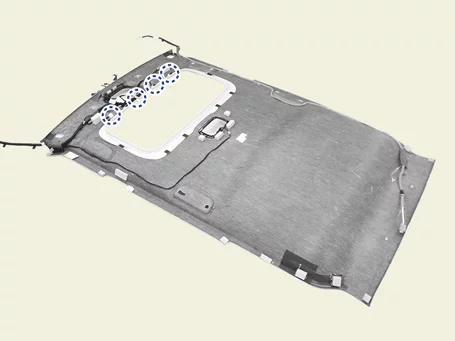
Remove the roof trim assembly (A) after removing the clips.
|
| 17. |
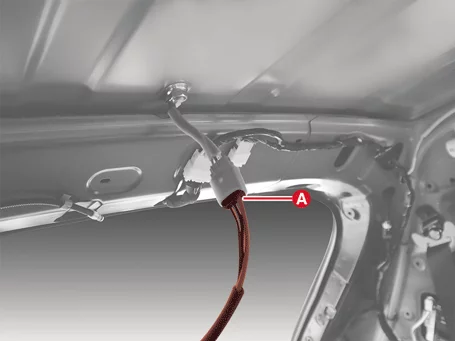
Disconnect the sunroof motor connector (A).
|
| 18. |
Disconnect the shark pin antenna connector (A).
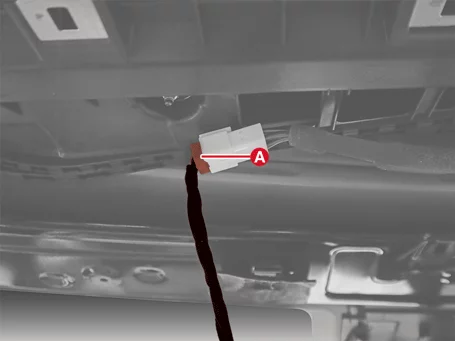
|
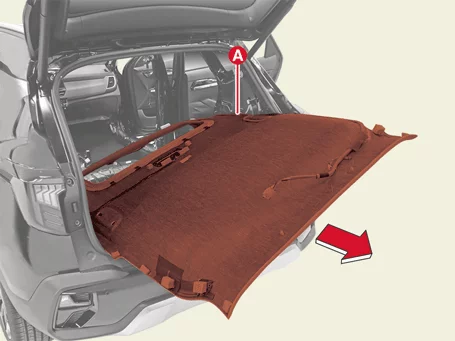
| 19. |
Remove the roof trim assembly (A) and pull it out in the direction of the arrow.
|
| Installation |
| 1. |
Install in reverse order of removal.
|


Other information:
Kia Seltos SP2 (2021-2026) Service Manual: Highway Driving Assist (HDA)
Highway Driving Assist (HDA) in the Kia Seltos is designed to help detect vehicles and lane markings ahead. When operating on supported highways, it can help maintain distance from the vehicle ahead, maintain the set speed, and help keep the Kia Seltos centered in the lane. NOTICE HDA is available only on controlled-access roads of certain highways.