
Kia Seltos: Body (Interior and Exterior) / Sunroof
Contents:
- Components and Components Location
- Adjustment
- Sunroof Glass Removal and Installation
- Sunroof Deflector Removal and Installation
- Sunroof Motor Removal and Installation
- Sunroof Assembly Removal and Installation
- Sunroof Sunshade Removal and Installation
- Sunroof Guide Removal and Installation
Components and Components Location
| Component |
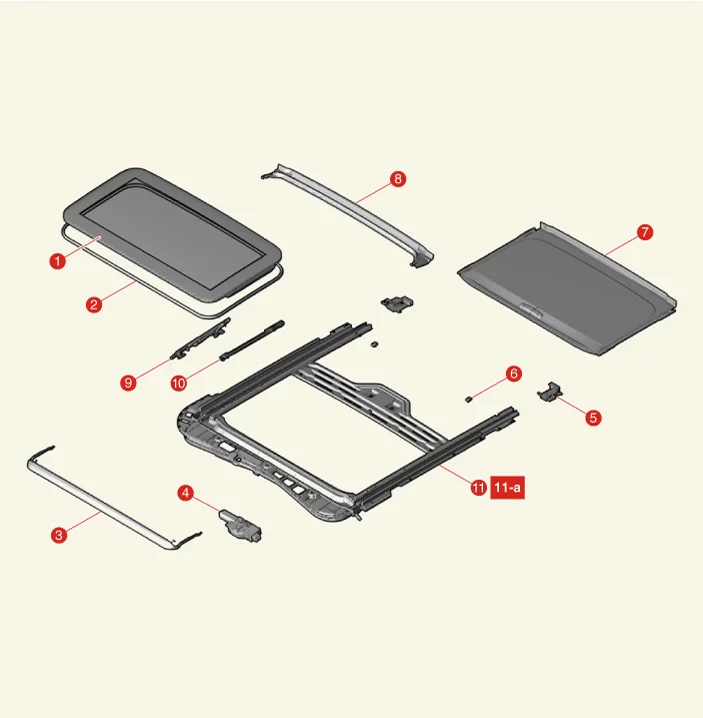
| 1. Sunroof Glass 2. Sunroof Glass Weatherstrip 3. Sunroof Deflector 4. Sunroof Motor 5. Rear Drip 6. Sunroof Rail Stopper |
7. Sunroof Sunshade 8. Sunroof Drip Rail 9. Sunroof Guide 10. Sunroof Drip Link 11. Sunroof Assembly 11-a. 3.9 - 5.9 N·m (0.4 - 0.6 kgf·m, 2.9 - 4.3 lb·ft) |
Adjustment
| Adjustment |
Glass Adjustment
| 1. |
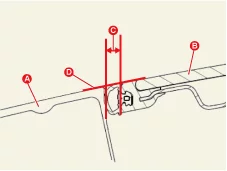
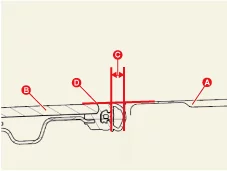
Check the gap (C) and flush (D) between the roof panel (A) and the glass (B).
|
| 2. |
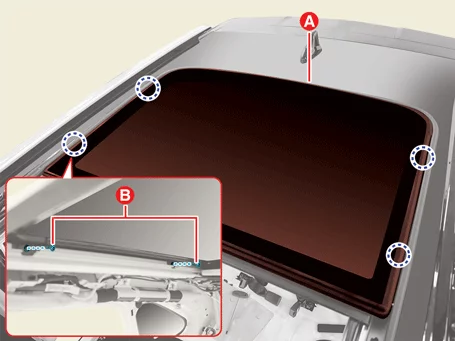
If necessary to adjust the glass (A), glass height adjustment screw (B) loosen slightly and then tighten
up tightening torque.
|
Initialize Sunroof
If the glass does not move automatically when the switch is operated with one touch or emergency operation
(manual operation) is performed, the sunroof must be initialized as follows.
In the following cases, the initial value of the sunroof motor has been erased. Perform initialization.
|

| 1. |
After IG ON, completely close the glass using the sunroof close switch.
|
| 2. |
When the glass is completely closed, release the sunroof close switch and press the closing switch again
until the glass moves slightly (about 10 seconds).
|
| 3. |
If you release your hand from the sunroof close switch and press it again, the glass tilts and slides
open and then closes, completing the sunroof initialization.
|

Emergency Operation
| 1. |
Emergency operation of the sunroof must not be performed except when the sunroof must be closed or opened
in a state where the motor is faulty.
|
| 2. |
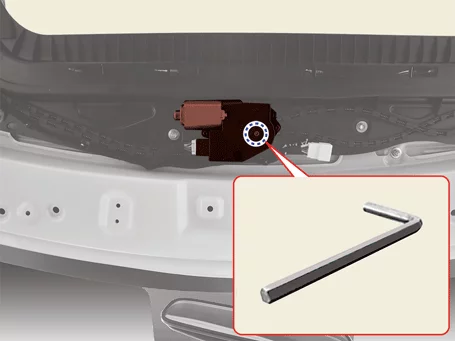
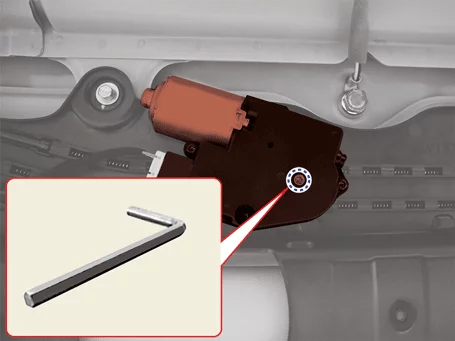
After removing the roof trim, use a hexagon wrench to close or open the sunroof, and do not apply
excessive force.
[Moving Glass Motor]
[Roller Blind Motor]
|
| 3. |
In case of emergency operation of the sunroof, initialize the sunroof for normal sunroof operation.
|
Sunroof Glass Removal and Installation
| Removal |
| 1. |
Press the sunroof switch to tilt the sunroof glass.
|
| 2. |
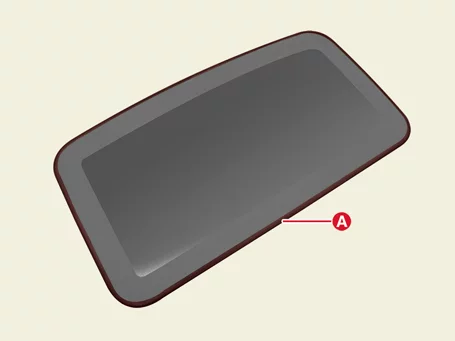
Remove the sunroof glass (A) after removing the screws (B).
|
| 3. |
Remove the sunroof glass weatherstrip (A).
|
| Installation |
| 1. |
Install in reverse order of removal.
|
Sunroof Deflector Removal and Installation
| Removal |
| 1. |
Press the sunroof switch to fully open the sunroof glass.
|
| 2. |
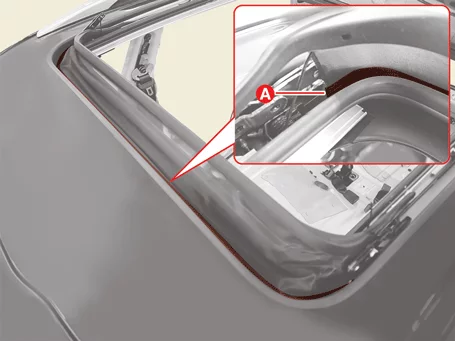
Remove the sunroof protector (A).
|
| 3. |
Remove the spring (A) after removing the hook (B).
|
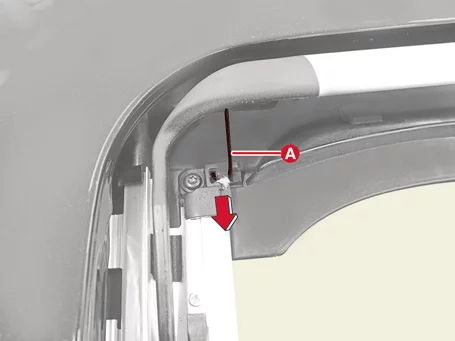
| 4. |
Separate the sunroof deflector guide (A) in the direction of the arrow.
|
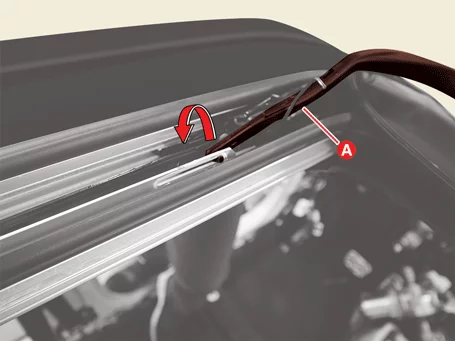
| 5. |
Remove the sunroof deflector guide (A) in the direction of the arrow.
|
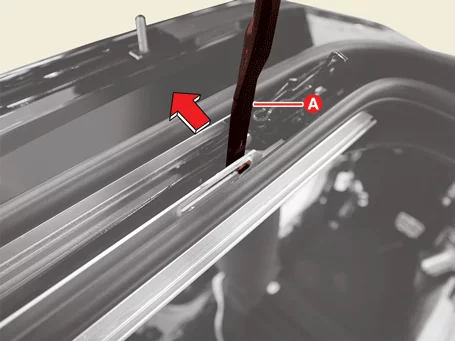
| Installation |
| 1. |
Install in reverse order of removal.
|
Sunroof Motor Removal and Installation
| Removal |
| 1. |
Remove the roof trim assembly.
(Refer to Roof Trim - "Roof Trim Assembly")
|
| 2. |
Remove the sunroof motor connector (A).
|
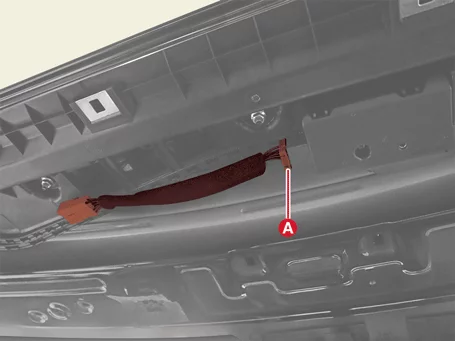
| 3. |
Remove the sunroof motor (A) after removing the screws.
|
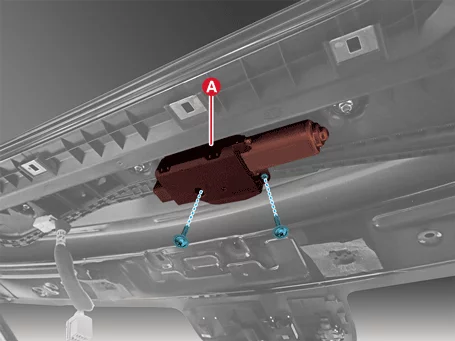
| Installation |
| 1. |
Install in reverse order of removal.
|
Sunroof Assembly Removal and Installation
| Removal |
| 1. |
Remove the roof trim assembly.
(Refer to Roof Trim - "Roof Trim Assembly")
|
| 2. |
Remove the drain hoses (A) after releasing the hose clamps (B).
|
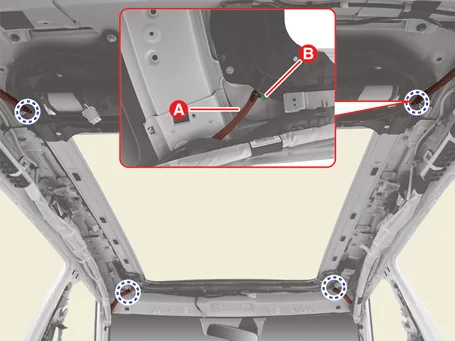
| 3. |
Remove the sunroof assembly (A) after removing the nuts.
|
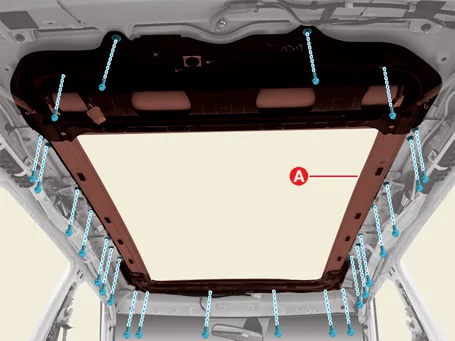
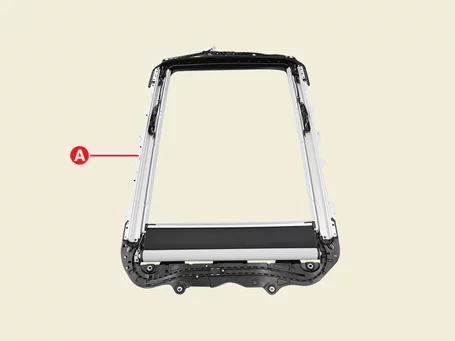
| Installation |
| 1. |
Install in reverse order of removal.
|
Sunroof Sunshade Removal and Installation
| Removal |
| 1. |
Remove the sunroof assembly.
(Refer to Sunroof - "Sunroof Assembly")
|
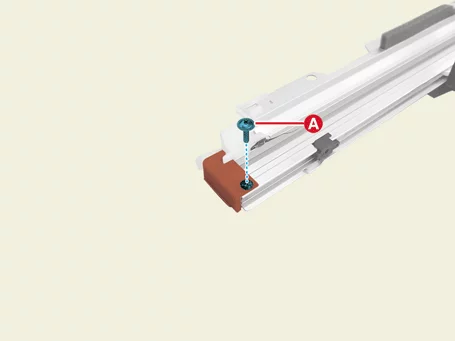
| 2. |
Remove the rear drip screw (A).
|
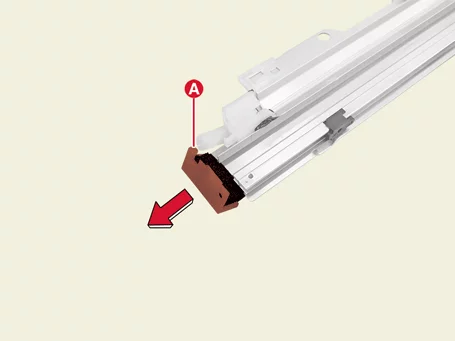
| 3. |
Open the rear drip (A) in the direction of the arrow.
|
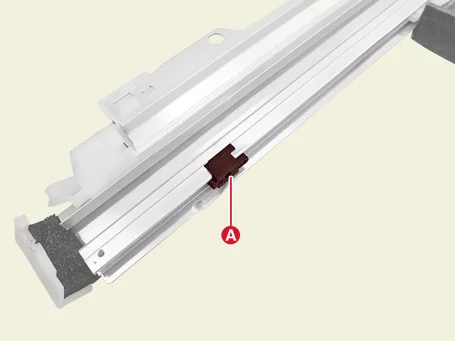
| 4. |
Remove the sunshade stopper (A).
|
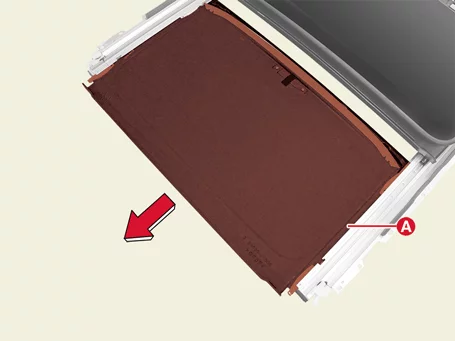
| 5. |
Remove the sunroof sunshade (A) in the direction of the arrow.
|
| Installation |
| 1. |
Install in reverse order of removal.
|
Sunroof Guide Removal and Installation
| Removal |
| 1. |
Remove the sunroof sunshade.
(Refer to Sunroof - "Sunroof Sunshade")
|
| 2. |
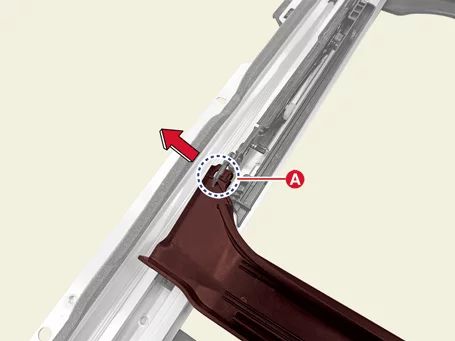
Remove the drip rail hook (A) in the direction of the arrow.
|
| 3. |
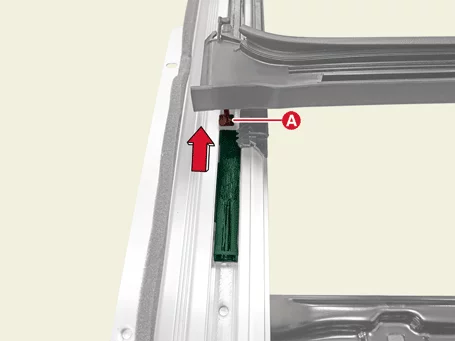
Remove the drip rail guide (A) in the direction of the arrow.
|
| 4. |
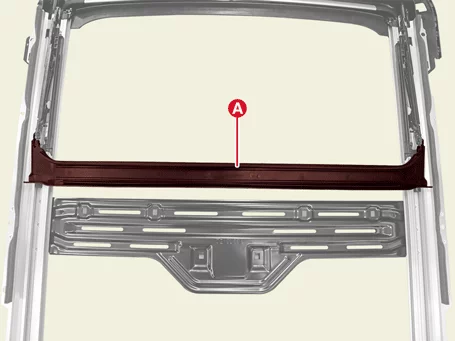
Remove the drip rail (A).
|
| 5. |
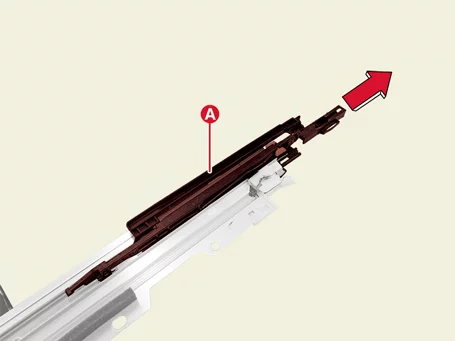
Remove the sunroof guide and drip link (A) in the direction of the arrow.
|
| 6. |
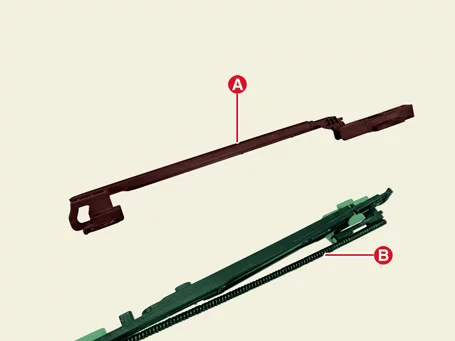
Separate the drip link (A) and the sunroof guide (B).
|
| 7. |
Remove the roller shoe (A).
|
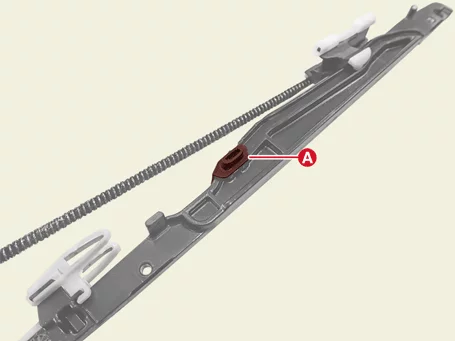
| 8. |
Remove the cable assembly (A) in the direction of the arrow.
|
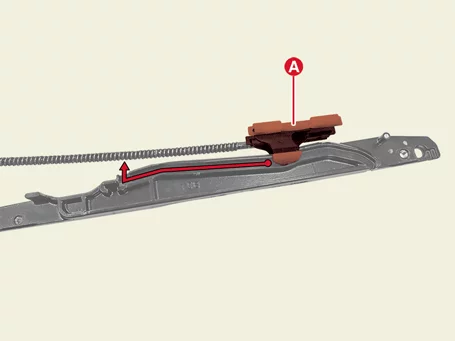
| 9. |
Remove the drip link (A).
|
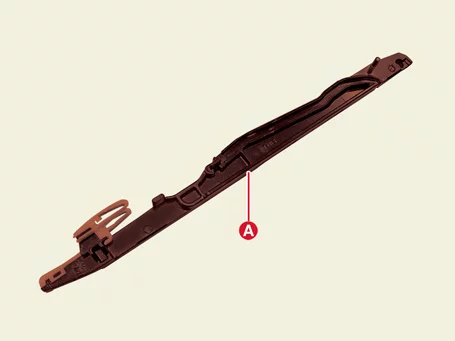
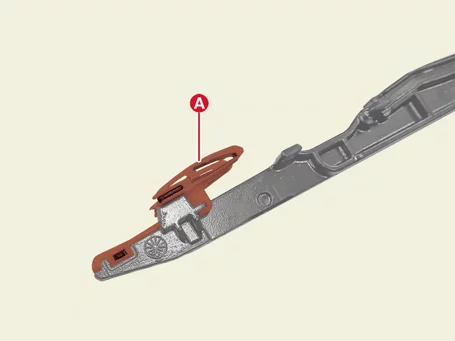
| 10. |
Remove the guide shoe (A).
|
| Installation |
| 1. |
Install in reverse order of removal.
|


Other information:
Kia Seltos SP2 (2021-2026) Service Manual: Tightening Torque
Tightening Torque Engine and Transaxle Assembly Engine Room Under Cover Item N·m kgf·m lb·ft lb·in Engine room under cover bolt 7.Kia Seltos SP2 (2021-2026) Service Manual: Recommended lubricants and capacities
To help achieve proper engine performance, powertrain durability, and long-term reliability in the Kia Seltos, use only lubricants and fluids of the recommended quality and specification. Using the correct lubricants helps reduce engine friction, supports fuel efficiency, and protects important mechanical components from premature wear. The following lubricants and fluids are recommended for use in your Kia Seltos.