
Kia Seltos SP2 (2021-2026) Service Manual / All Wheel Drive (AWD) System / Transfer Assembly
Kia Seltos: All Wheel Drive (AWD) System / Transfer Assembly
Contents:
- Transfer Oil Inspection
- Transfer Oil Replacement
- Front Transfer Assembly Components and Components Location
- Front Transfer Assembly Removal and Installation
- Oil Seal Replacement
Transfer Oil Inspection
| Inspection |
Inspect and replace transfer oil every 4 years or 60,000 km (37,000 mile).
|

| 1. |
Remove the engine room under cover.
G 1.6 T-GDI GAMMA II (Refer to Engine Mechanical System - "Engine Room
Under Cover")
G 2.0 MPI NU (Refer to Engine Mechanical System - "Engine Room Under
Cover")
|
| 2. |
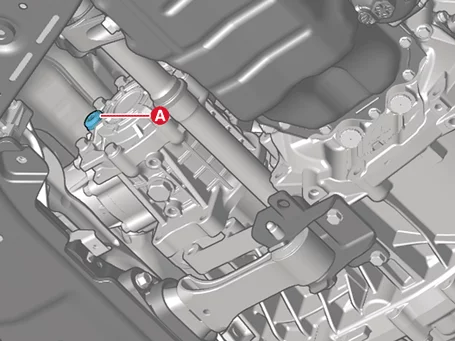
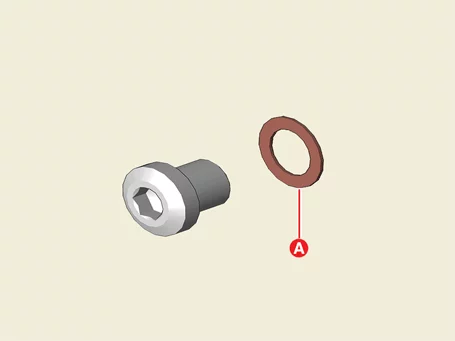
Remove the filler plug (A).
|
| 3. |
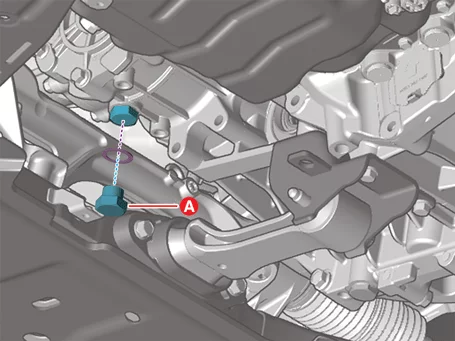
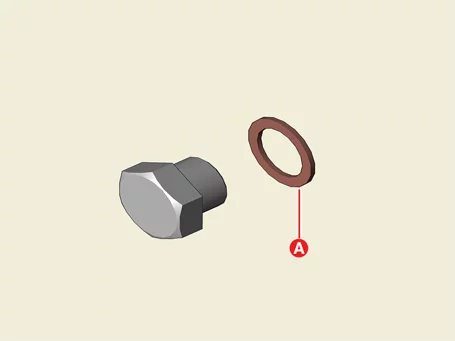
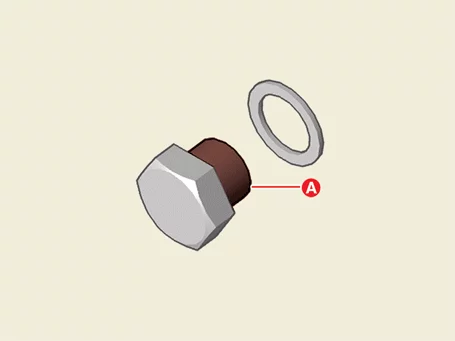
Remove the drain plug (A), wait for at least 10 minutes until the oil is fully drained, and then
reinstall the drain plug.
|

| 4. |
Check the amount of drained oil and fill the specified amount of oil through the filler plug hole.
|
| 5. |
Install the filler plug (A).
|
| 6. |
Install the engine room under cover.
G 1.6 T-GDI GAMMA II (Refer to Engine Mechanical System - "Engine Room
Under Cover")
G 2.0 MPI NU (Refer to Engine Mechanical System - "Engine Room Under
Cover")
|
Transfer Oil Replacement
| Replacement |
| 1. |
Remove the engine room under cover.
G 1.6 T-GDI GAMMA II (Refer to Engine Mechanical System - "Engine Room
Under Cover")
G 2.0 MPI NU (Refer to Engine Mechanical System - "Engine Room Under
Cover")
|
| 2. |
Remove the drain plug (A) and drain transfer oil, and then reinstall the drain plug (A).
|
| 3. |
Remove the filler plug (A) and refill with oil.
|
| 4. |
Install the filler plug (A).
|
| 5. |
Install the engine room under cover.
G 1.6 T-GDI GAMMA II (Refer to Engine Mechanical System - "Engine Room
Under Cover")
G 2.0 MPI NU (Refer to Engine Mechanical System - "Engine Room Under
Cover")
|
Front Transfer Assembly Components and Components Location
| Component Location |
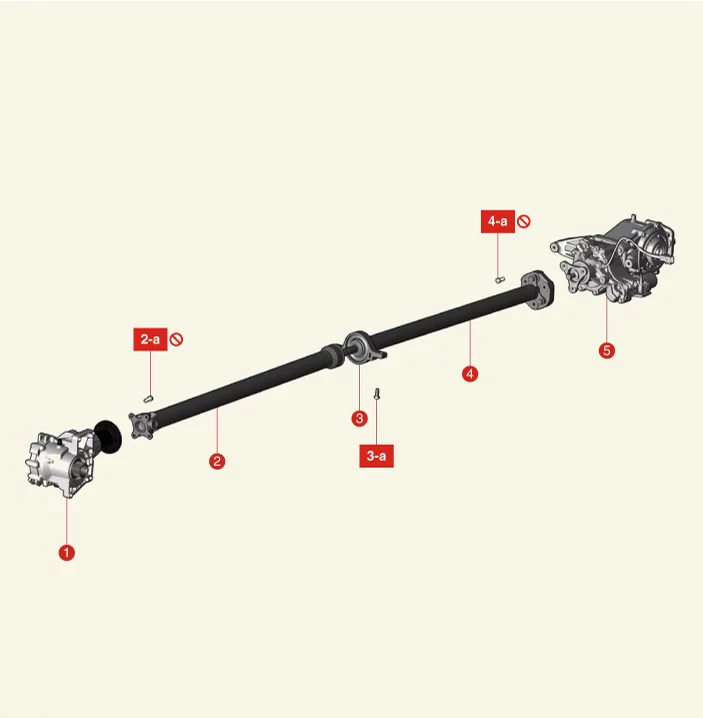
| 1. Front Transfer
Assembly 2. Front Propeller Shaft 2-a. 49.0 - 68.6 N·m (5.0 - 7.0 kgf·m, 36.2 - 50.6 lb·ft) |
3. Center Bearing
Bracket 3-a. 49.0 - 68.6 N·m (5.0 - 7.0 kgf·m, 36.2 - 50.6 lb·ft) 4. Rear Tube 4-a. 60.8 - 65.7 N·m (6.2 - 6.7 kgf·m, 44.8 - 48.5 lb·ft) 5. Coupling Assembly and Rear Differential Carrier Assembly |
Front Transfer Assembly Removal and Installation
| Removal |
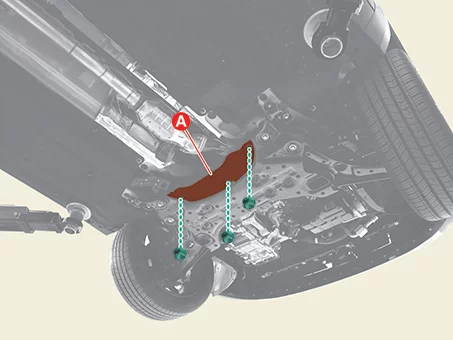
| 1. |
Remove the front sub frame under cover (A) after removing the nuts.
|
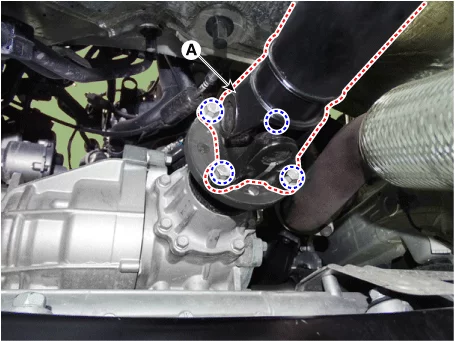
| 2. |
Mark the front transfer assembly and propeller shaft mounting position and then remove the propeller
shaft (A) after removing the bolts.
|
| 3. |
Remove the engine room under cover.
G 1.6 MPI GAMMA (Refer to Engine Mechanical System - "Engine Room Under Cover")
G 1.6 T-GDI GAMMA II (Refer to Engine Mechanical System - "Engine Room Under Cover")
G 2.0 MPI NU (Refer to Engine Mechanical System - "Engine Room Under Cover")
|
| 4. |
Remove the RH front driveshaft and inner shaft.
(Refer to Driveshaft and Axle - "Front Driveshaft")
|
| 5. |
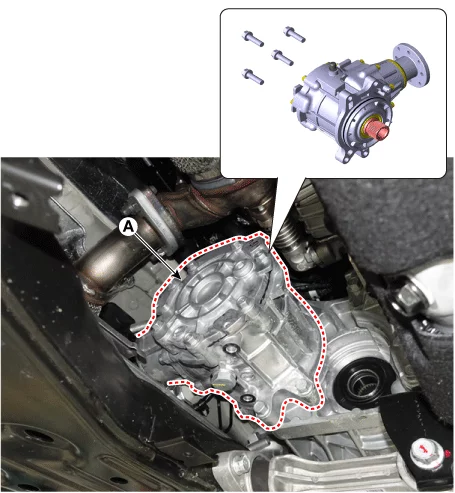
Remove the bolts, and then remove the transfer assembly (A).
|
| Installation |
| 1. |
Install in reverse order of removal.
|
Oil Seal Replacement
| Special Service Tool |
|
Tool Name / Number |
Illustration |
Description |
|
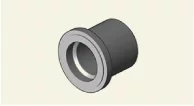
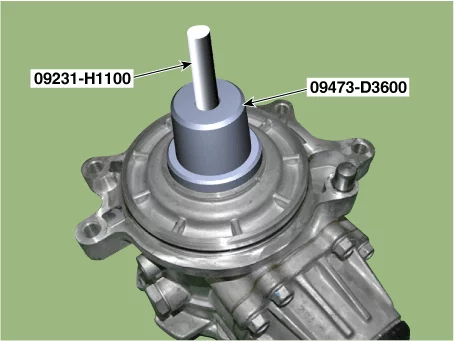
Oil seal installer 09473 - D3600 |
|
Used for installing transfer case oil seal (Used with the handle) |
|
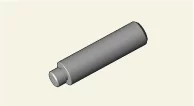
Handle 09231 - H1100 |
|
Used for installing transfer case oil seal (Used with the oil seal installer) |
| Replacement |
| 1. |
Remove the front transfer assembly.
(Refer to Transfer Assembly - "Front Transfer Assembly")
|
| 2. |
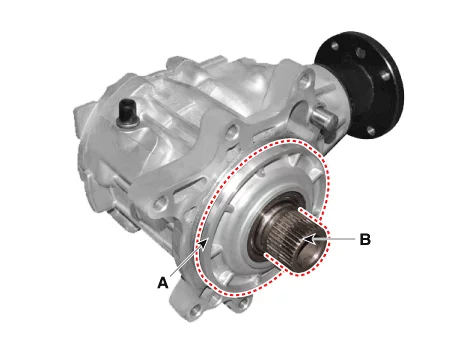
Remove the oil seal (A).
|
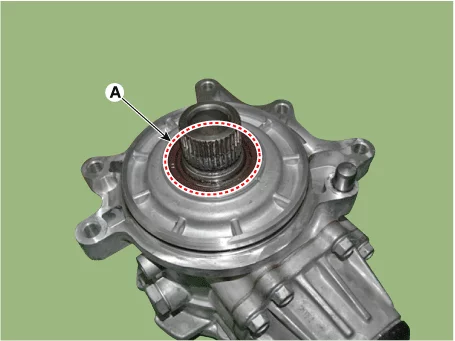
| 3. |
Install a new oil seal using the SST (09473 - D3600, 09231 - H1100).
|
| 4. |
Check the oil level and refill as required.
(Refer to Transfer Assembly - "Transfer Oil")
|
| 5. |
Install the transfer assembly.
(Refer to Transfer Assembly - "Front Transfer Assembly")
|


Other information:
Kia Seltos SP2 (2021-2026) Service Manual: Piston and Connecting Rod Inspection
Inspection The connecting rods. 1. Check the connecting rod side clearance. Using a feeler gauge, measure the end play while moving the connecting rod back and forth. • If out-of-tolerance, install a new connecting rod.After selecting the correct child seat for your child, check that it fits properly in the Kia Seltos seating position where it will be used. Follow all instructions provided by the child restraint manufacturer when installing the seat. These general steps can help when installing a CRS in your Kia Seltos: Properly secure the child restraint to the vehicle.