
Kia Seltos SP2 (2021-2026) Service Manual / Engine Mechanical System / Lubrication System
Kia Seltos: Engine Mechanical System / Lubrication System
Contents:
- Engine Oil Replacement
- Engine Oil Inspection
- Oil Pan Components and Components Location
- Oil Pan Removal
- Oil Pan Installation
- Oil Pump Removal and Installation
- Oil Level Gauge & Pipe Removal and Installation
- Oil Level Sensor Removal and Installation
Engine Oil Replacement
| Special Service Tool |
|
Tool Name / Number |
Illustration |
Description |
|
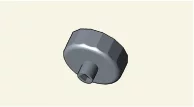
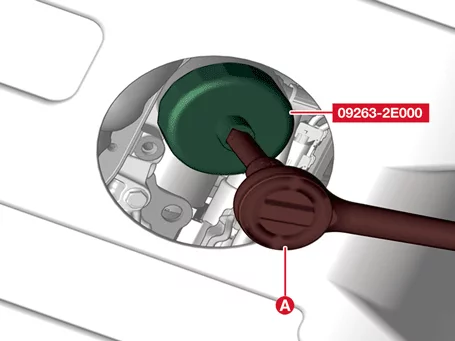
Oil filter wrench 09263 - 2E000 |
|
Used for removing and installing oil filter |
| Engine Oil And Filter Replacement |
|

Never use any additives to engine oil, as they can change the properties of engine oil which can cause
serious engine failure.
|

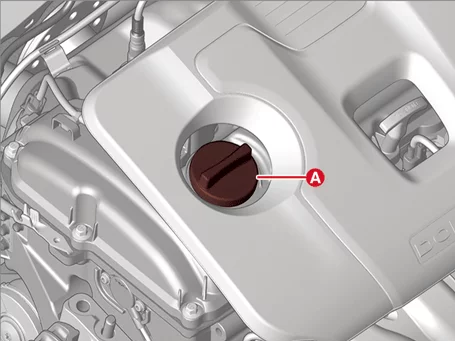
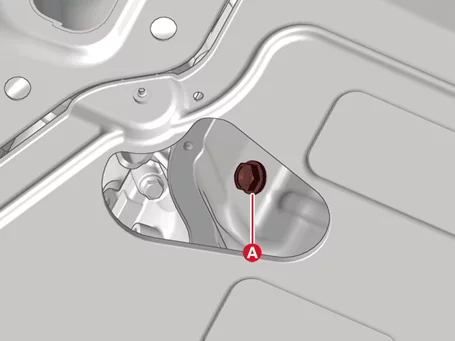
| 1. |
Drain engine oil.
|
| 2. |
Replace the oil filter.
|
| 3. |
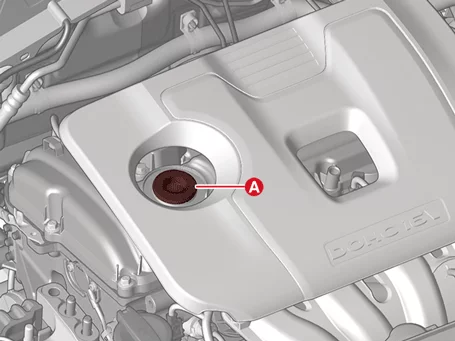
Fill the engine oil.
|
| 4. |
Start engine and check for leaks.
|
| 5. |
Recheck the engine oil level.
|
Engine Oil Inspection
| Inspection |
Engine oil
| 1. |
Check the condition of the engine oil.
Check for oil discoloration, moisture inflow, and viscosity drop, If the engine quality is noticeably
poor, change the oil.
|
| 2. |
Check the engine oil level.
After engine warm up stop the engine wait 5 minutes then check the oil level. Oil level should be between
the "L" and "F" marks on the dipstick. If low check for leakage and add oil up to the "F" mark.
|
Engine Oil Grade
Recommendation
API SN PLUS / SP or ILSAC GF-6 / 0W - 20
SAE viscosity: Refer to viscosity classification by temperature

For best performance and maximum protection in all operating conditions, be sure to select the following
lubricants.
|
Oil Pan Components and Components Location
| Component |
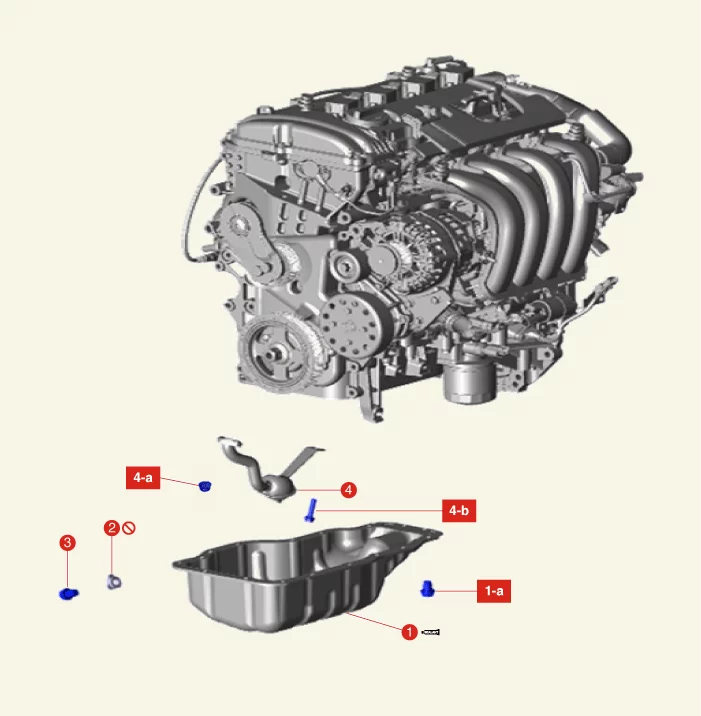
| 1. Oil Pan 1-a. 11.8 - 13.7 N·m (1.2 - 1.4 kgf·m, 8.7 - 10.1 lb·ft) 2. Oil Drain Plug Gasket 3. Oil Drain Plug |
4. Oil Screen 4-a. 11.8 - 13.7 N·m (1.2 - 1.4 kgf·m, 8.7 - 10.1 lb·ft) 4-b. 19.6 - 26.5 N·m (2.0 - 2.7 kgf·m, 14.5 - 19.5 lb·ft) |
Oil Pan Removal
| Special Service Tool |
|
Tool Name / Number |
Illustration |
Description |
|
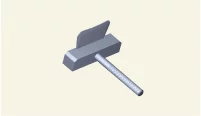
Oil pan remover 09215 - 3C000 |
|
Removal of oil pan |
| Removal |
| 1. |
Remove the engine room under cover.
(Refer to Engine and Transaxle Assembly - "Engine Room Under
Cover")
|
| 2. |
Drain engine oil.
(Refer to Lubrication System - "Engine Oil")
|
| 3. |
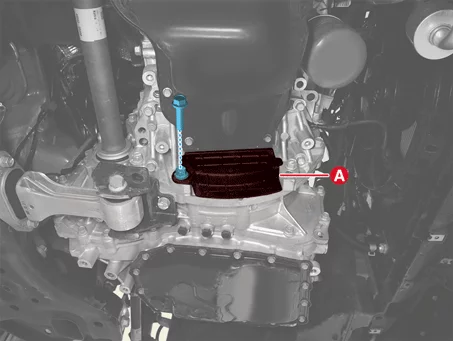
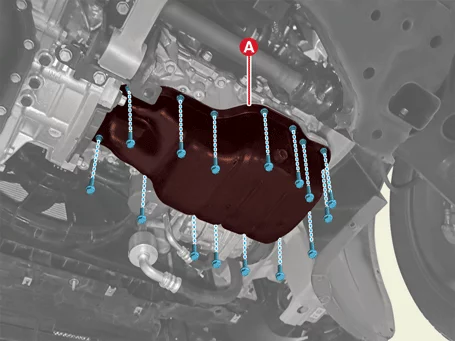
Remove the cover (A) after removing bolt.
|
| 4. |
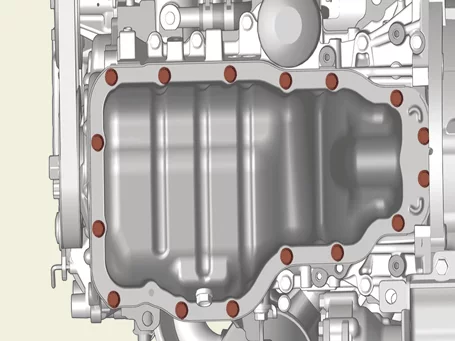
Remove the oil pan bolts.
|
| 5. |
Remove the oil pan using the SST (09215 - 3C000).
|
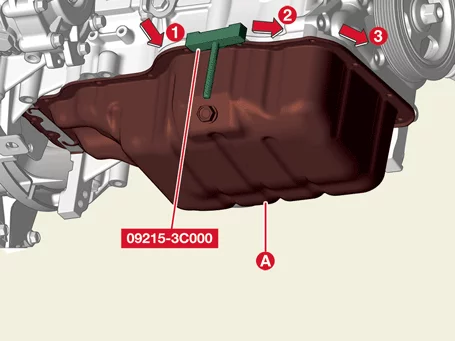

 arrow.
 arrow around more than 2/3 edge of the oil pan, remove it from the lower crankcase.
| 6. |
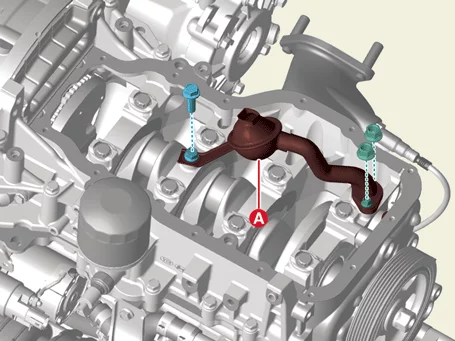
Remove the oil screen (A) after removing bolt and nuts.
|
Oil Pan Installation
| Installation |
| 1. |
Install the oil screen (A) with a new gasket.
|
| 2. |
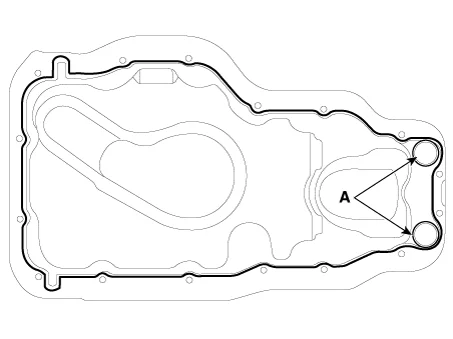
Install the oil pan.
|
| 3. |
Fill the engine oil.
(Refer to Lubrication System - "Engine Oil")
|
| 4. |
Start engine and check for leaks.
|
Oil Pump Removal and Installation
| Removal and Installation |
| 1. |
If oil pump change is necessary, replace timing chain cover and oil pump assembly.
(Refer to Timing System - "Timing Chain Cover")
|
Do not disassemble the oil pump from the timing chain cover.
|
Oil Level Gauge & Pipe Removal and Installation
| Removal |
| 1. |
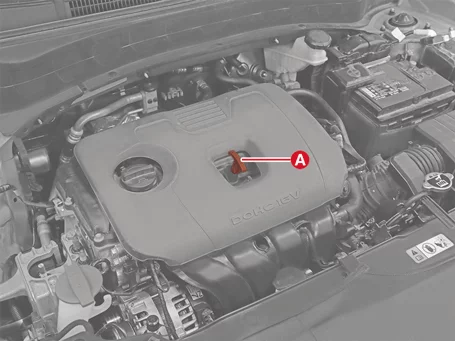
Remove the oil level gauge (A).
|
| Installation |
| 1. |
Install in reverse order of removal.
|
Oil Level Sensor Removal and Installation
| Removal |
| 1. |
Disconnect the battery negative ( - ) terminal.
|
| 2. |
Remove the engine room under cover.
(Refer to Engine and Transaxle Assembly - "Engine Room Under
Cover")
|
| 3. |
Drain the engine oil.
(Refer to Lubrication System - “Engine Oil”)
|
| 4. |
Disconnect the oil level sensor connector.
|
| 5. |
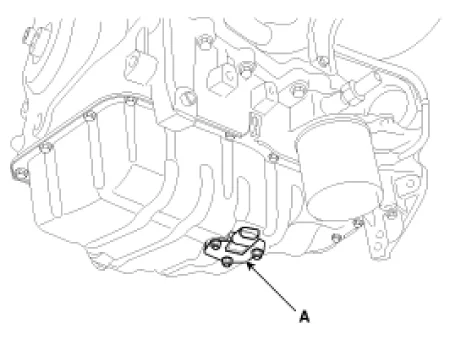
Remove the oil level sensor (A) after removing the nuts.
|
| Installation |
| 1. |
Install in the reverse order of removal
|
| 2. |
Fill engine oil.
(Refer to Lubrication System - "Engine Oil")
|

