
Kia Seltos: Suspension System / Rear Suspension System - Coupled Torsion Beam Axle
Contents:
- Components and Components Location
- Rear Shock Absorber Components and Components Location
- Rear Shock Absorber Removal and Installation
- Rear Shock Absorber Disassembly
- Rear Shock Absorber Inspection
- Rear Shock Absorber Reassembly
- Rear Coil Spring Components and Components Location
- Rear Coil Spring Removal and Installation
- Rear Coil Spring Inspection
- Rear Torsion Beam Axle Removal and Installation
- Rear Torsion Beam Axle Replacement
Components and Components Location
| Component |
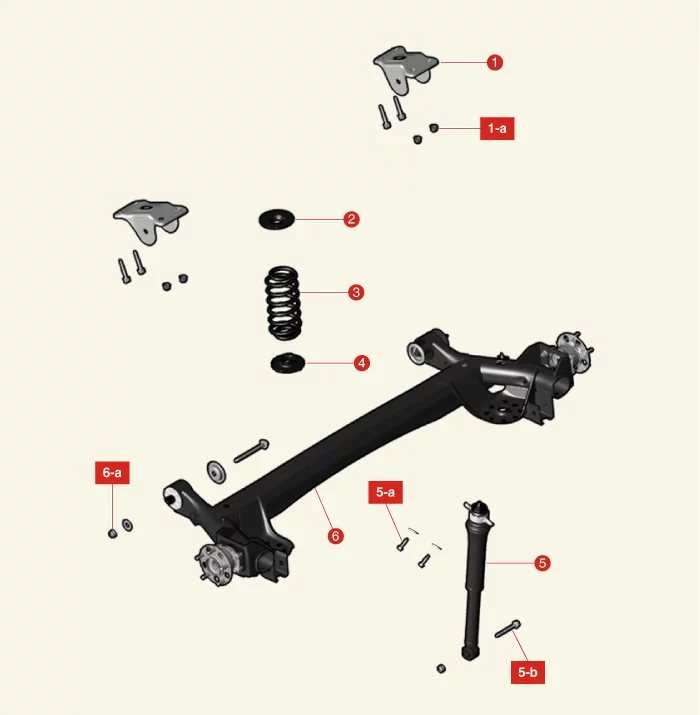
| 1. Rear Torsion Beam Axle Stay 1-a. 98.1 - 117.7 N·m (10.0 - 12.0 kgf·m, 72.3 - 86.8 lb·ft) 2. Rear Coil Spring Upper Pad 3. Rear Coil Spring 4. Rear Coil Spring Lower Pad |
5. Rear Shock Absorber 5-a. 58.8 - 73.5 N·m (6.0 - 7.5 kgf·m, 43.4 - 54.2 lb·ft) 5-b. 98.1 - 117.7 N·m (10.0 - 12.0 kgf·m, 72.3 - 86.8 lb·ft) 6. Rear Torsion Beam Axle 6-a. 137.3 - 156.9 N·m (14.0 - 16.0 kgf·m, 101.3 - 115.7 lb·ft) |
Rear Shock Absorber Components and Components Location
| Component and Component Location |
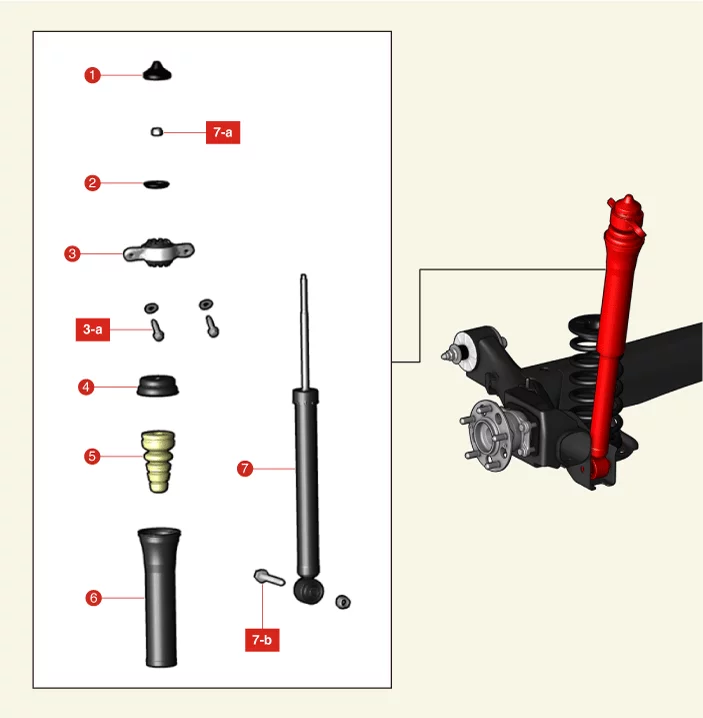
| 1. Insulator cap 2. Retainer 3. Insulator 3-a. 58.8 - 73.5 N·m (6.0 - 7.5 kgf·m, 43.4 - 54.2 lb·ft) |
4. Retainer Cup 5. Bumper Rubber 6. Dust Cover 7. Shock Absorber Assembly 7-a. 21.6 - 29.4 N·m (2.2 - 3.0 kgf·m, 15.9 - 21.7 lb·ft) 7-b. 98.1 - 117.7 N·m (10.0 - 12.0 kgf·m, 72.3 - 86.8 lb·ft) |
Rear Shock Absorber Removal and Installation
| Removal |
| 1. |
Remove the rear wheel and tires.
(Refer to Tires/Wheels - "Wheel")
|
| 2. |
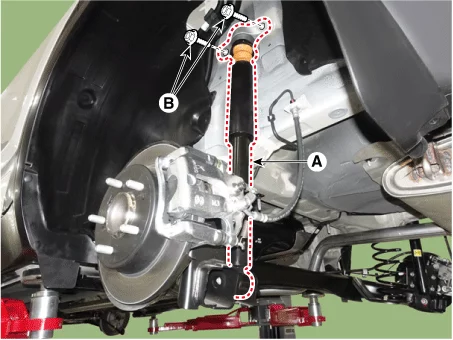
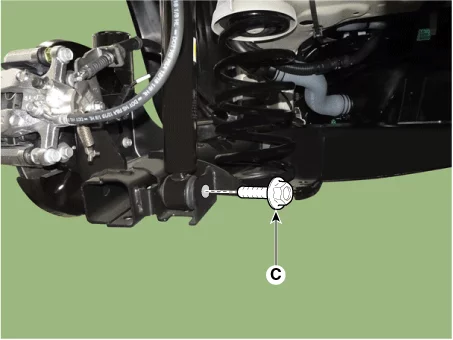
Remove the rear shock absorber (A) after removing the bolts (B), and (C).
|
| Installation |
| 1. |
Install in reverse order of removal.
|
Rear Shock Absorber Disassembly
| Special Service Tool |
|
Tool Name / Number |
Illustration |
Description |
|
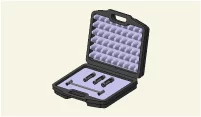
Shock absorber lock nut remover. 09546 - 3X100 |
|
Used for removal or installing of rear shock absorber lock nut. |
| Disassembly |
| 1. |
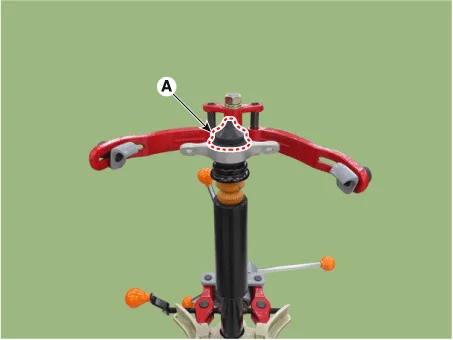
Remove the insulator cap (A).
|
| 2. |
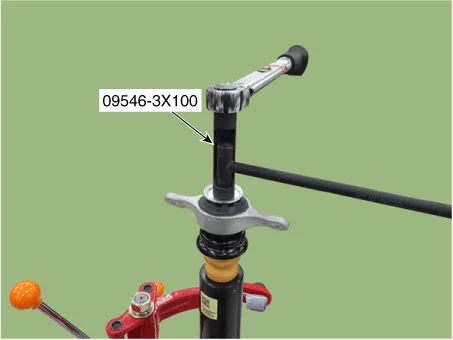
Remove the self locking nut using the SST (09546 - 3X100).
|

| 3. |
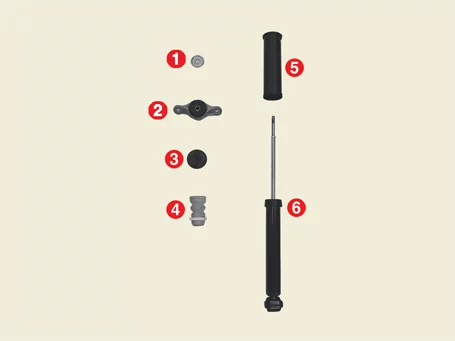
Disassemble the rear shock absorber.
|

Rear Shock Absorber Inspection
| Inspection |
| 1. |
Check the rubber parts for damage or deterioration.
|
| 2. |
Check all bolts and nuts.
|
| 3. |
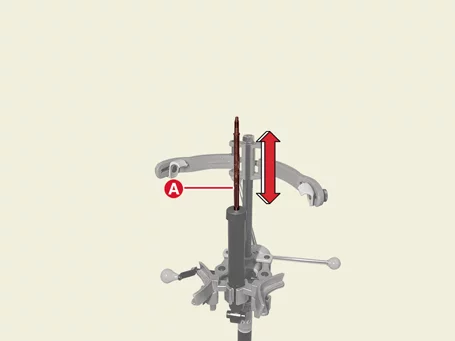
Repeat compression and tension of the rear shock absorber rod (A) to check for abnormal resistance or
noise between operations.
|
| Disposal |
| 1. |
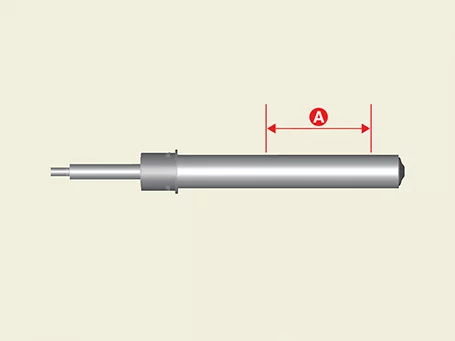
Fully extend the piston rod.
|
| 2. |
Drill a hole on the A section to remove gas from the cylinder.
|
Rear Shock Absorber Reassembly
| Special Service Tool |
|
Tool Name / Number |
Illustration |
Description |
|
Shock absorber lock nut remover. 09546 - 3X100 |
|
Used for removal or installing of rear shock absorber lock nut. |
| Reassembly |
| 1. |
Reassemble the rear shock absorber assembly.
|
| 2. |
Install the self locking nut using the SST (09546 - 3X100).
|
| 3. |
Remove the insulator cap (A).
|
Rear Coil Spring Components and Components Location
| Component and Component Location |
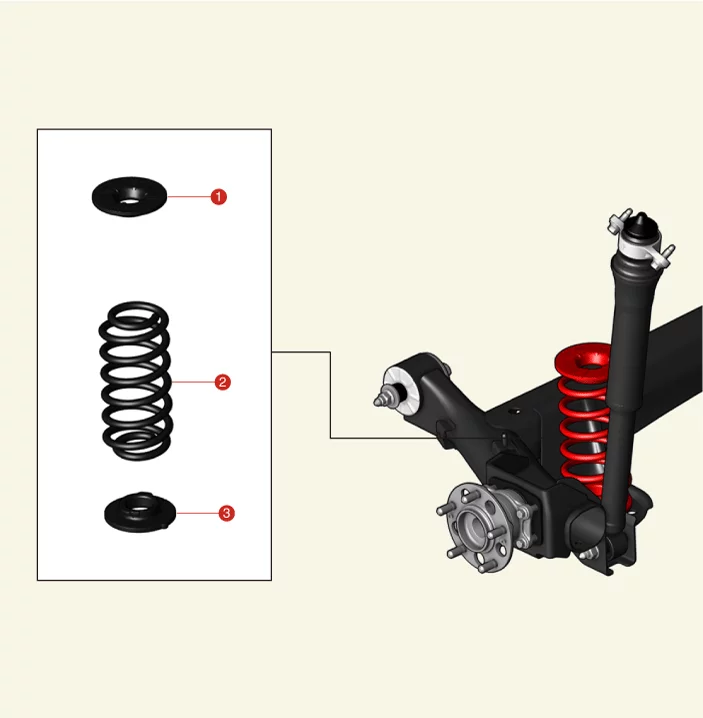
| 1. Coil Spring Upper Pad 2. Coil Spring 3. Coil Spring Lower Pad |
Rear Coil Spring Removal and Installation
| Removal |
| 1. |
Remove the rear wheel and tires.
(Refer to Tires/Wheels - "Wheel")
|
| 2. |
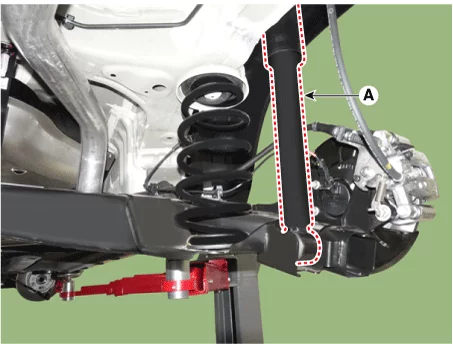
Separate the rear shock absorbers (A) after removing the bolts.
|
| 3. |
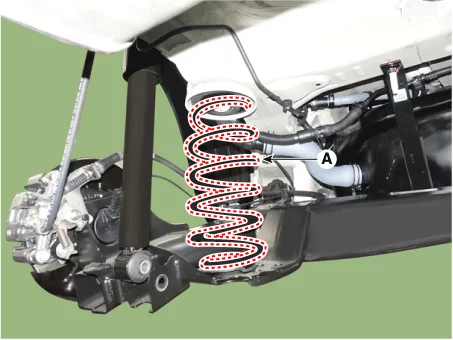
Remove the coil spring, coil spring upper pad, and lower pad (A).
|
| 4. |
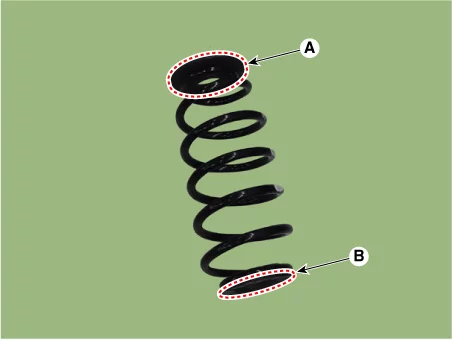
Remove the coil spring upper pad (A), and lower pad (B).
|
| Installation |
| 1. |
Install in the reverse order of removal.
|
Rear Coil Spring Inspection
| Inspection |
| 1. |
Check the coil spring for cracks or deformation.
|
| 2. |
Check the coil spring pad for damage and deformation.
|
Rear Torsion Beam Axle Removal and Installation
| Removal |
| 1. |
Disconnect the battery negative (-) terminal.
|
| 2. |
Remove the rear wheel and tires.
(Refer to Tires/Wheels - "Wheel")
|
| 3. |
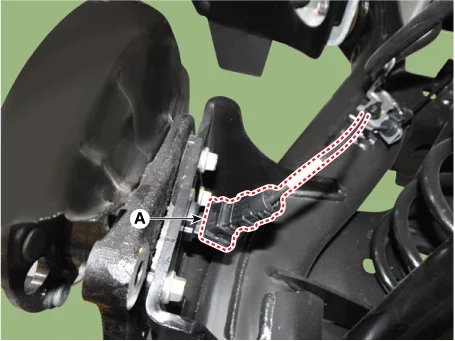
Disconnect the rear wheel speed sensor connector (A).
|
| 4. |
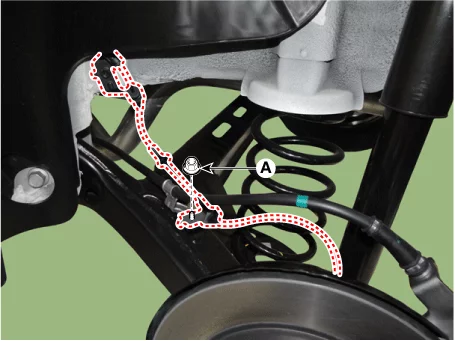
Remove the rear wheel speed sensor wire bracket nuts (A).
|
| 5. |
Remove the rear hub assembly.
(Refer to Driveshaft and Axle - "Rear Hub Assembly - 2WD")
|
| 6. |
Separate the rear shock absorbers (A) from the coupled torsion beam axle after removing the bolts.
|
| 7. |
Remove the coil spring (A).
|
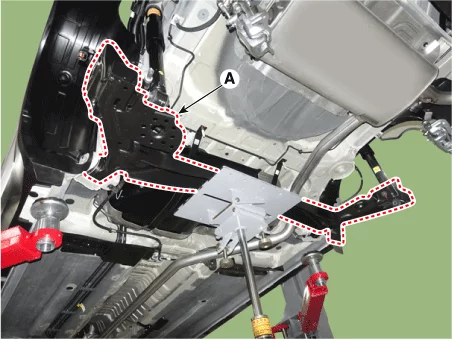
| 8. |
Support the torsion beam axle (A) with a suitable tool such as the jack.
|
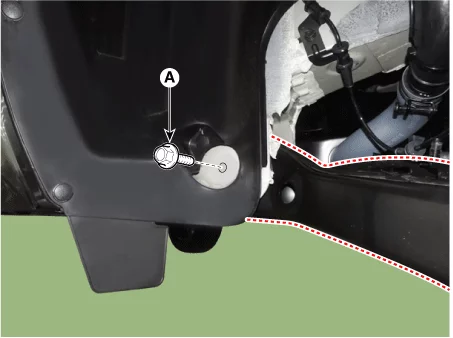
| 9. |
Remove the torsion beam axle mounting bolts and nuts (A).
|
| 10. |
Lower the jack slowly to remove the torsion beam axle (A).
|
Rear Torsion Beam Axle Replacement
| Replacement |
|
Tool Name / Number |
Illustration |
Description |
|
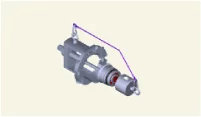
CTBA bushing remover & installer 09551 - AL100 |
|
Used for removal or installing of the CTBA bushing |
|
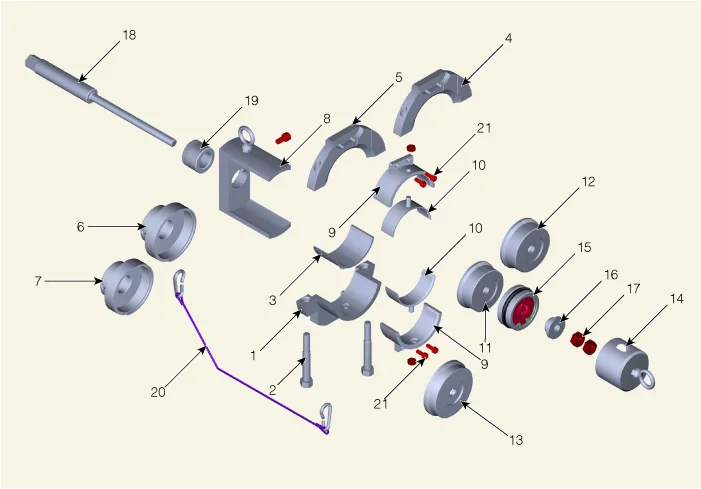
| 1. Beam Clamp A 2. Beam Clamp Bolt 3. Beam Clamp Adaptor 4. Beam Clamp B 5. Beam Clamp C 6. Installer Adaptor A 7. Installer Adaptor B |
8. Beam Clamp Support 9. Bushing Guide A 10. Bushing Guide B 11. Remover Adaptor A 12. Remover Adaptor B 13. Installer Adaptor C 14. Safety Cap |
15. Bearing 16. Bearing Washer 17. Nut 18. Main Bolt 19. Main Nut 20. Safety Wire 21. Bushing Guide Bolt |
| 1. |
Remove the rear torsion beam axle.
(Refer to Rear Suspension System - "Rear Torsion Beam Axle")
|
| 2. |
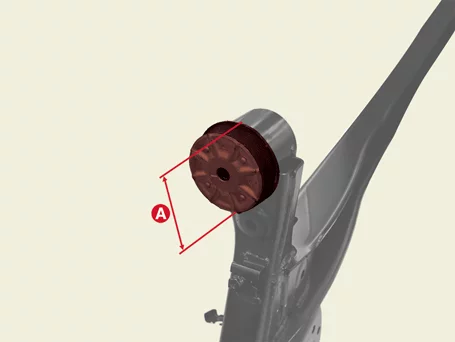
Measure the outer diameter (A) of the CTBA bushing.
|
| 3. |
Refer to the following table and prepare the SST according to the size of the bushing outer diameter.
|
| 4. |
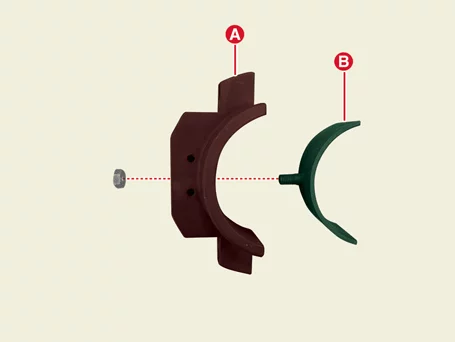
Install the SST[3] (B) to the SST[1] (A) by tightening the nut. [Type 1
Only]
|
| 5. |
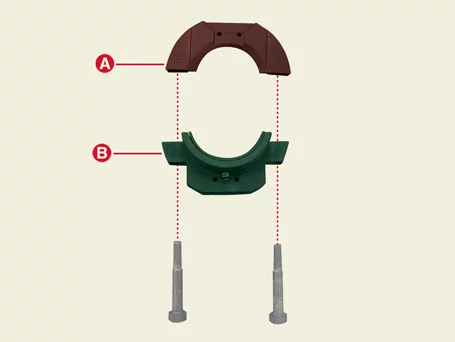
Pre-install the SST[1] (B) to the SST[5 or 4] (A) by tightening the bolts[2].
Type 1 : SST [5]
Type 2 : SST [4]
|
| 6. |
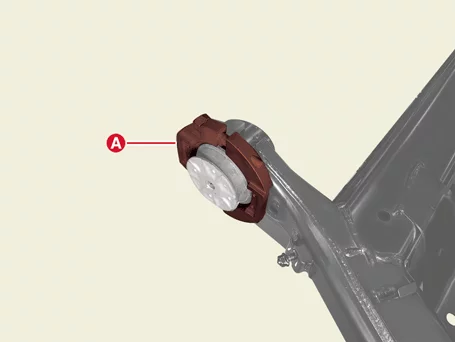
Install the SST[5 or 4 + 1] (A) to the outside of the bushing.
Type 1 : SST [5, 1]
Type 2 : SST [4, 1]
|
| 7. |
Install SST [8,19,18] (A) to SST [5 or 4 + 1] by passing through the bushing inner diameter.
Type 1 : SST [5, 1]
Type 2 : SST [4, 1]
|
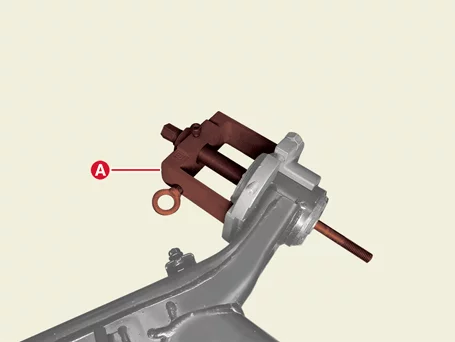
| 8. |
Install the SST[11] (A) to the SST[18].
|
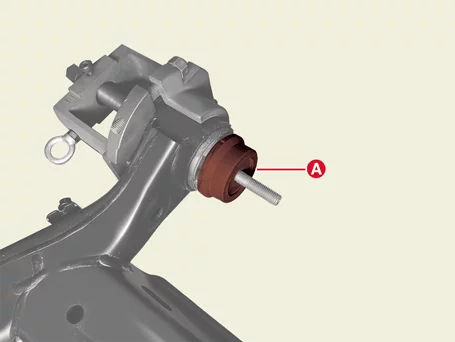
| 9. |
Install the SST[15] (A) to the SST[18].
|
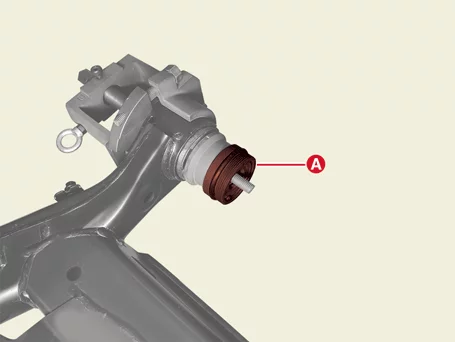
| 10. |
Install the SST[16] (A) to the SST[18].
|
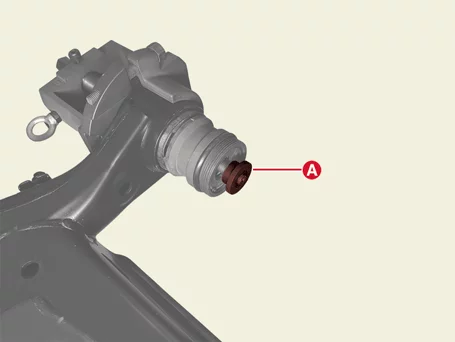
| 11. |
Install the 2 SST[17] (A) to the SST[18].
|
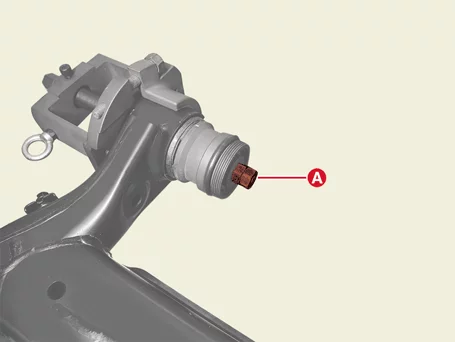
| 12. |
Install the SST[14] (A).
|
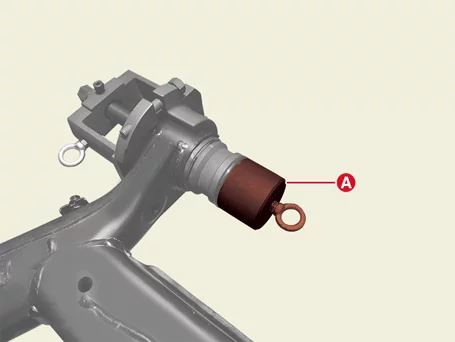
| 13. |
Install the SST[20] (A) to the 2 hooks as shown as below.
|
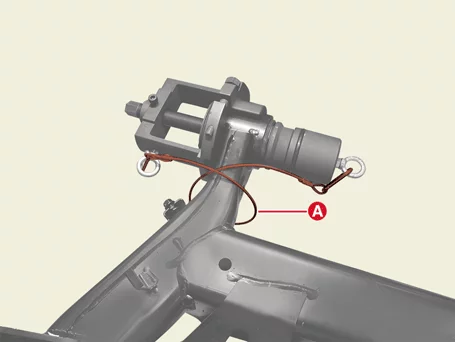

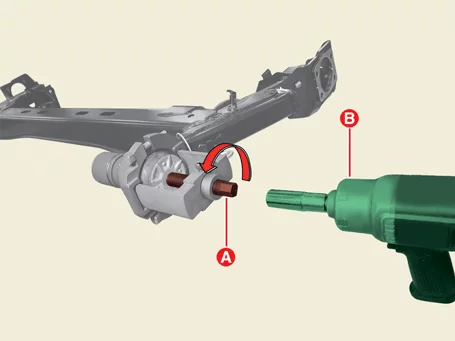
| 14. |
Rotate the bolt (A) counter clockwise using an impact wrench (B) to remove the bushing.
|
| 15. |
Remove the SST[20] (A).
|
| 16. |
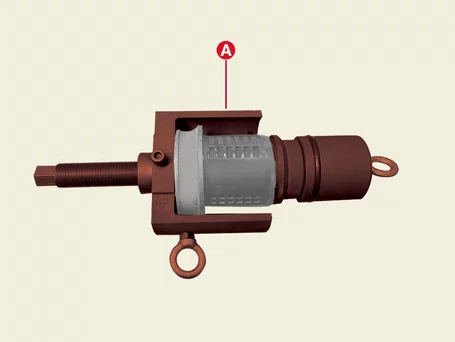
Remove the SST[1, 4 or 5,8,18,19] (A) from the bushing.
Remove the SST[1, 4 or 5,8,18,19] (A) from the bushing.
Type 1 : SST [5]
Type 2 : SST [4]
|
| 17. |
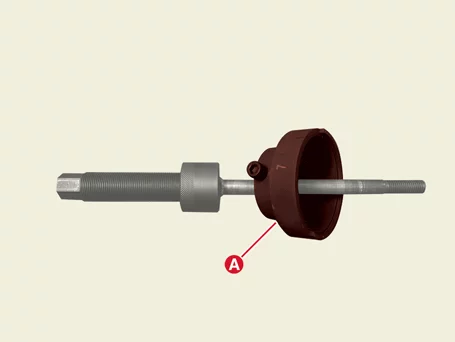
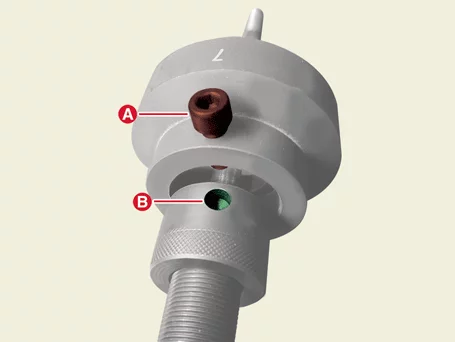
Install the SST[6 or 7] (A) to the SST[18,19].
Type 1 : SST [7]
Type 2 : SST [6]
|
| 18. |
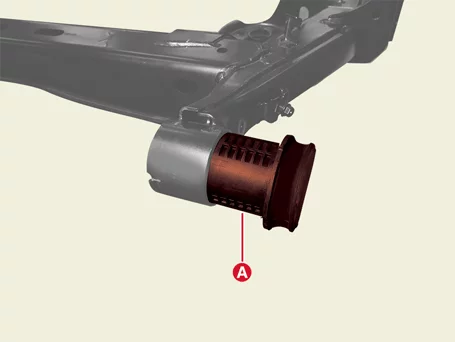
Install the new bushing (A) to the CTBA.
|
| 19. |
Install the SST[7,18] (A) by passing through the bushing inner diameter.
|
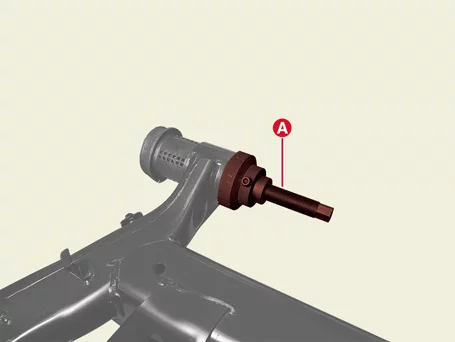
| 20. |
Install the SST[13] (A) to the SST[18].
|
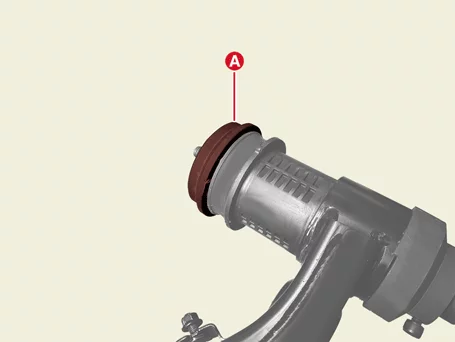
| 21. |
Install the SST[15] (A) to the SST[18].
|
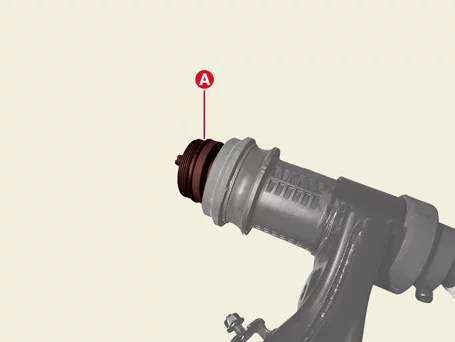
| 22. |
Install the SST[16] (A) to the SST[18].
|
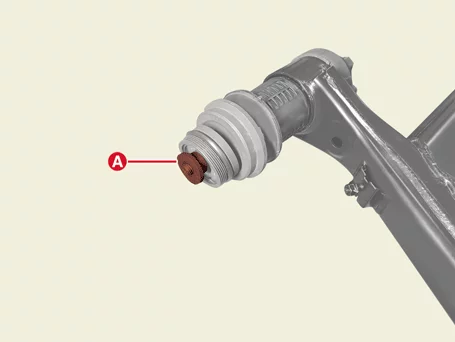
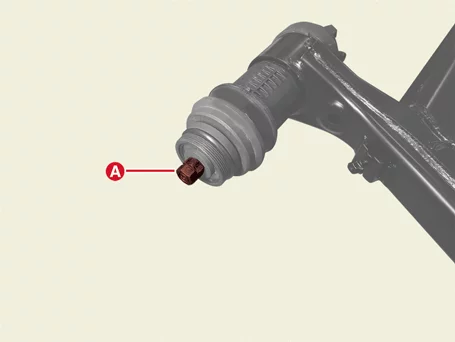
| 23. |
Install the 2 SST[17] to the SST[18].
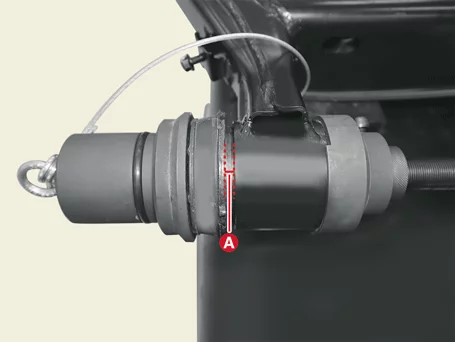
The end of SST[17] (A) and SST[18] should be aligned in straight line.
|
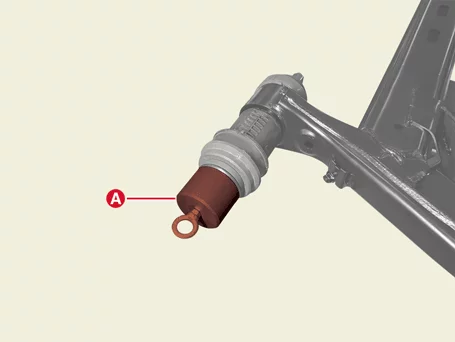
| 24. |
Install the SST[14] (A).
|
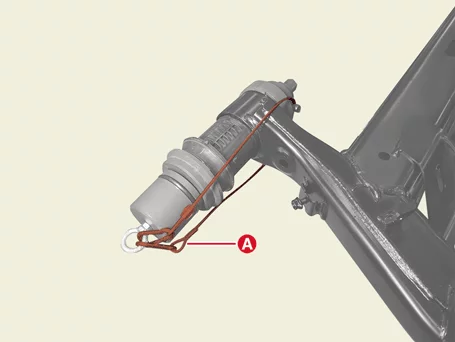
| 25. |
Install the SST[20] (A) to the 2 hooks as shown as below.
|
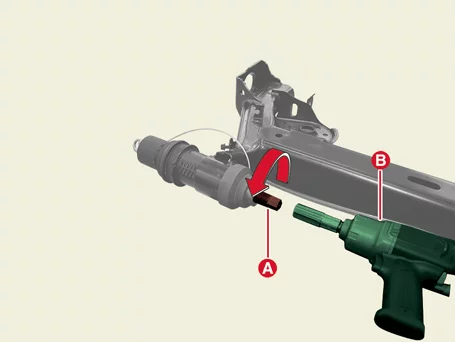
| 26. |
Install the new CTBA bushing by rotating the main bolt (A) counter clockwise using the impact wrench (B).
|


Other information:
Kia Seltos SP2 (2021-2026) Service Manual: Occupant Detection System (ODS)
The Kia Seltos is equipped with an Occupant Detection System (ODS) in the front passenger seat. The ODS is designed to detect whether a properly seated front passenger is present and to determine whether the front passenger air bag should be activated and ready to inflate if needed. Only the front passenger front air bag is controlled by the ODS.Kia Seltos SP2 (2021-2026) Service Manual: Vehicle Stability Management (VSM) system
The Vehicle Stability Management (VSM) system in the Kia Seltos provides additional support for vehicle stability and steering response under certain driving conditions. VSM may assist in the following situations: When driving on a slippery road surface. When the system detects a difference in traction between the left and right wheels.