
Kia Seltos SP2 (2021-2026) Service Manual / Engine Mechanical System / Drive Belt System
Kia Seltos: Engine Mechanical System / Drive Belt System
Contents:
- Components and Components Location
- Drive Belt Removal and Installation
- Drive Belt Inspection
- Idler Removal and Installation
- Drive Belt Tensioner Removal and Installation
- Crankshaft Damper Pulley Removal and Installation
Components and Components Location
| Component |
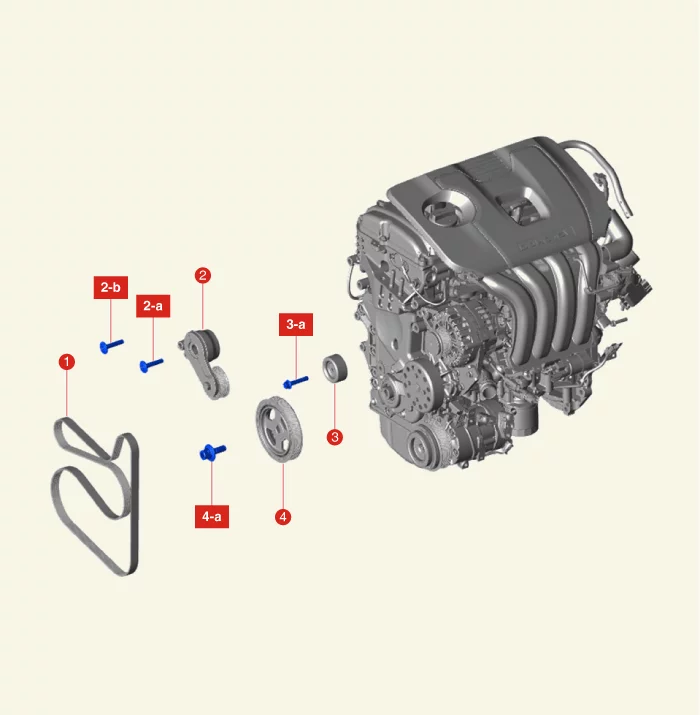
| 1. Drive Belt 2. Drive Belt Tensioner 2-a. 29.4 - 41.2 N·m (3.0 - 4.2 kgf·m, 21.7 - 30.4 lb·ft) 2-b. 39.2 - 49.0 N·m (4.0 - 5.0 kgf·m, 28.9 - 36.2 lb·ft) |
3. Idler 3-a. 39.3 - 49.0 N·m (4.0 - 5.0 kgf·m, 29.0 - 36.1 lb·ft) 4. Crankshaft Damper Pulley 4-a. 196.1 - 205.9 N·m (20.0 - 21.0 kgf·m, 144.7 - 151.9 lb·ft) |
Drive Belt Removal and Installation
| Removal |
| 1. |
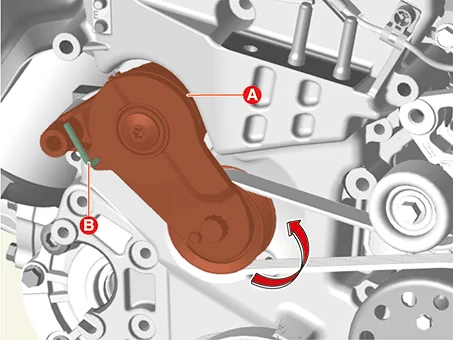
Turn the auto tensioner pulley (A) counterclockwise using a wrench and insert the stopper pin (B) into
the hole.
|
| 2. |
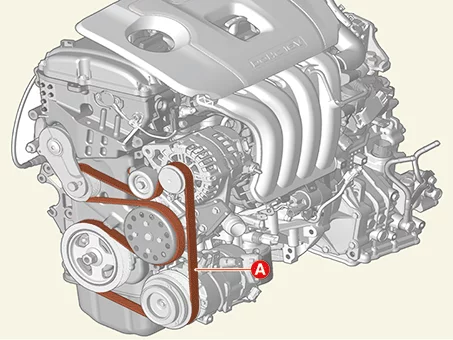
Remove the drive belt (A).
|
| Installation |
| 1. |
Install in reverse order of removal.
|
Drive Belt Inspection
| Inspection |
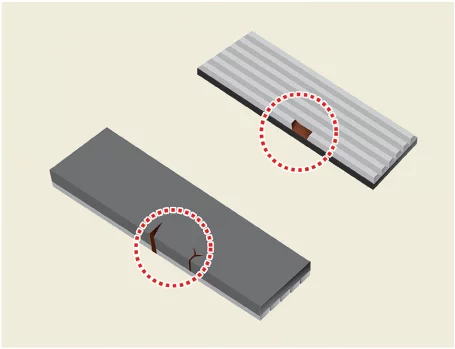
Visually check the belt for excessive wear, frayed cords etc.
If any defect has been found, replace the drive belt.
Idler Removal and Installation
| Removal |
| 1. |
Remove the drive belt.
(Refer to Drive Belt System - "Drive Belt")
|
| 2. |
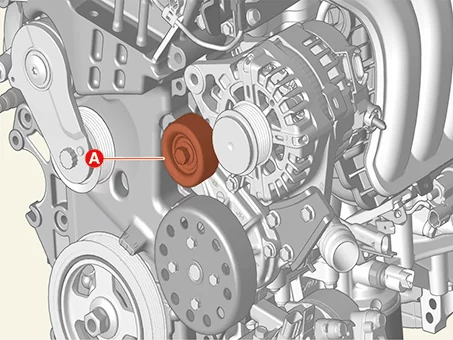
Remove the idler (A) after removing the bolt.
|
| Installation |
| 1. |
Install in reverse order of removal.
|

Drive Belt Tensioner Removal and Installation
| Removal |
| 1. |
Remove the drive belt.
(Refer to Drive Belt System - "Drive Belt")
|
| 2. |
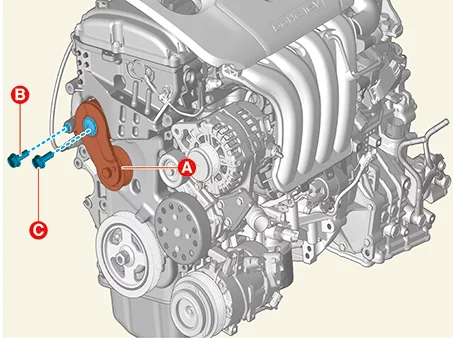
Remove the drive belt tensioner (A), after removing the bolt.
|
| Installation |
| 1. |
Install in reverse order of removal.
|
Crankshaft Damper Pulley Removal and Installation
| Special Service Tool |
|
|
|
|
|
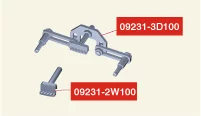
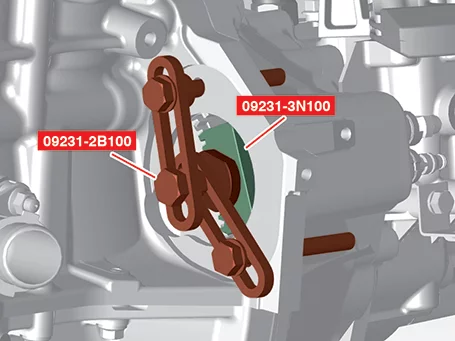
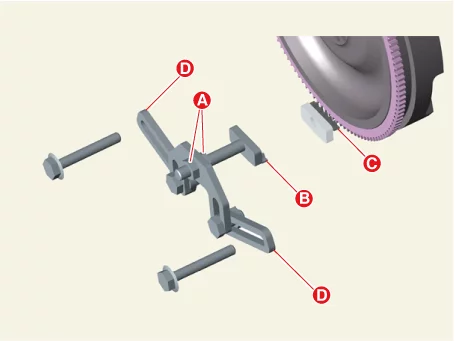
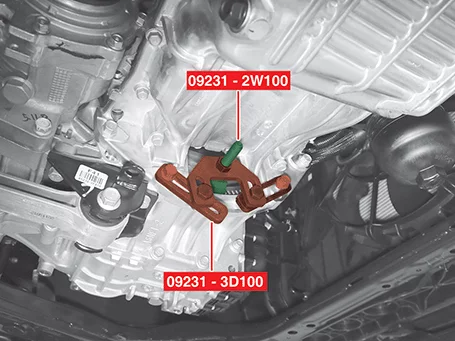
Ring gear stopper 09231 - 3D100 09231 - 2W100 |
|
Used for removing / intalling crankshaft damper pulley |
|
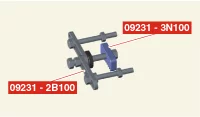
Ring gear stopper 09231-2B100 09231-3N100 |
|
Used for removing / intalling crankshaft damper pulley |
| Removal |
| 1. |
Remove the RH front wheel and tire.
(Refer to Suspension System - "Wheel")
|
| 2. |
Remove the engine room under cover.
(Refer to Engine and Transaxle Assembly - "Engine Room Under
Cover")
|
| 3. |
Remove the drive belt.
(Refer to Drive Belt System - "Drive Belt")
|
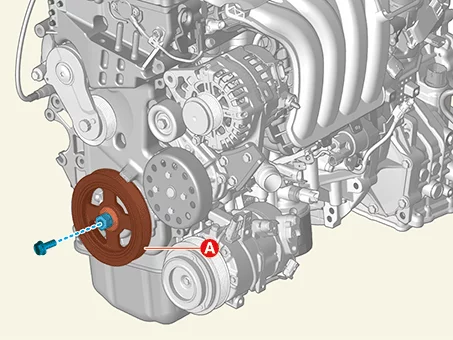
| 4. |
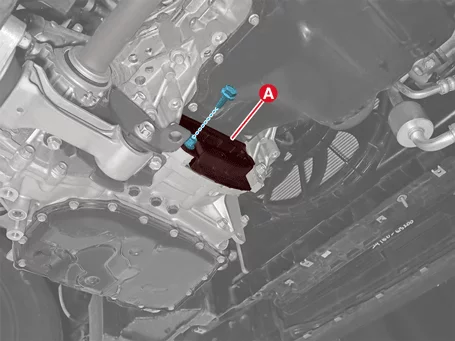
Remove the crankshaft damper pulley (A), after removing the bolt.
|
| Installation |
| 1. |
Install in reverse order of removal.
|


Other information:
Kia Seltos SP2 (2021-2026) Service Manual: Special driving conditions
When driving conditions become worse because of poor weather, damaged roads, low visibility, or reduced traction, the Kia Seltos should be driven with extra care. Slow down, increase your following distance, and avoid sudden control inputs whenever the road surface is uncertain. Hazardous driving conditions When hazardous driving conditions are present, such as water, snow, ice, mud, sand, or similar road hazards, follow these safe driving suggestions: Drive cautiously and allow extra distance for braking.Kia Seltos SP2 (2021-2026) Service Manual: Cooling System Replacement - G 1.6 T-GDI GAMMA ll
Engine Coolant Refilling And Air Bleeding • Do not remove the pressure cap when the engine is hot.